CBRAIN (https://cbrain.ca) is resource offered by McGill university that hosts large datasets and provides tools for batch processing large datasets. Below is a step-by-step guide to how to upload your own large dataset from the CBS server (or any Ubuntu Linux system) to the CBRAIN interface.
A couple things to note before getting started:
- There isn’t really any way to edit, restructure, or manipulate your data once you upload it, so you will need to make sure your data are in the correct format for the tool you want to use before uploading.
- Most tools on CBRAIN assume BIDS formatted data, so you should be looking to upload individual BIDS-ed subject directories (e.g.,
sub-S001) rather than complete BIDS directories.
The following guide also assumes that you have already gone through the process of getting a user account on CBRAIN.
For large datasets (> 400MB), CBRAIN requires you to upload to one of their two SFTP servers. This is relatively easy from the CBS Server.
Step 1: Connecting to SFTP-1 and uploading data
This website provides the documentation for connecting to either of the SFTP servers using the Linux Connexion method (shown here), as well as instructions for uploading via the command line: https://portal.cbrain.mcgill.ca/doc/manual/uploading.html
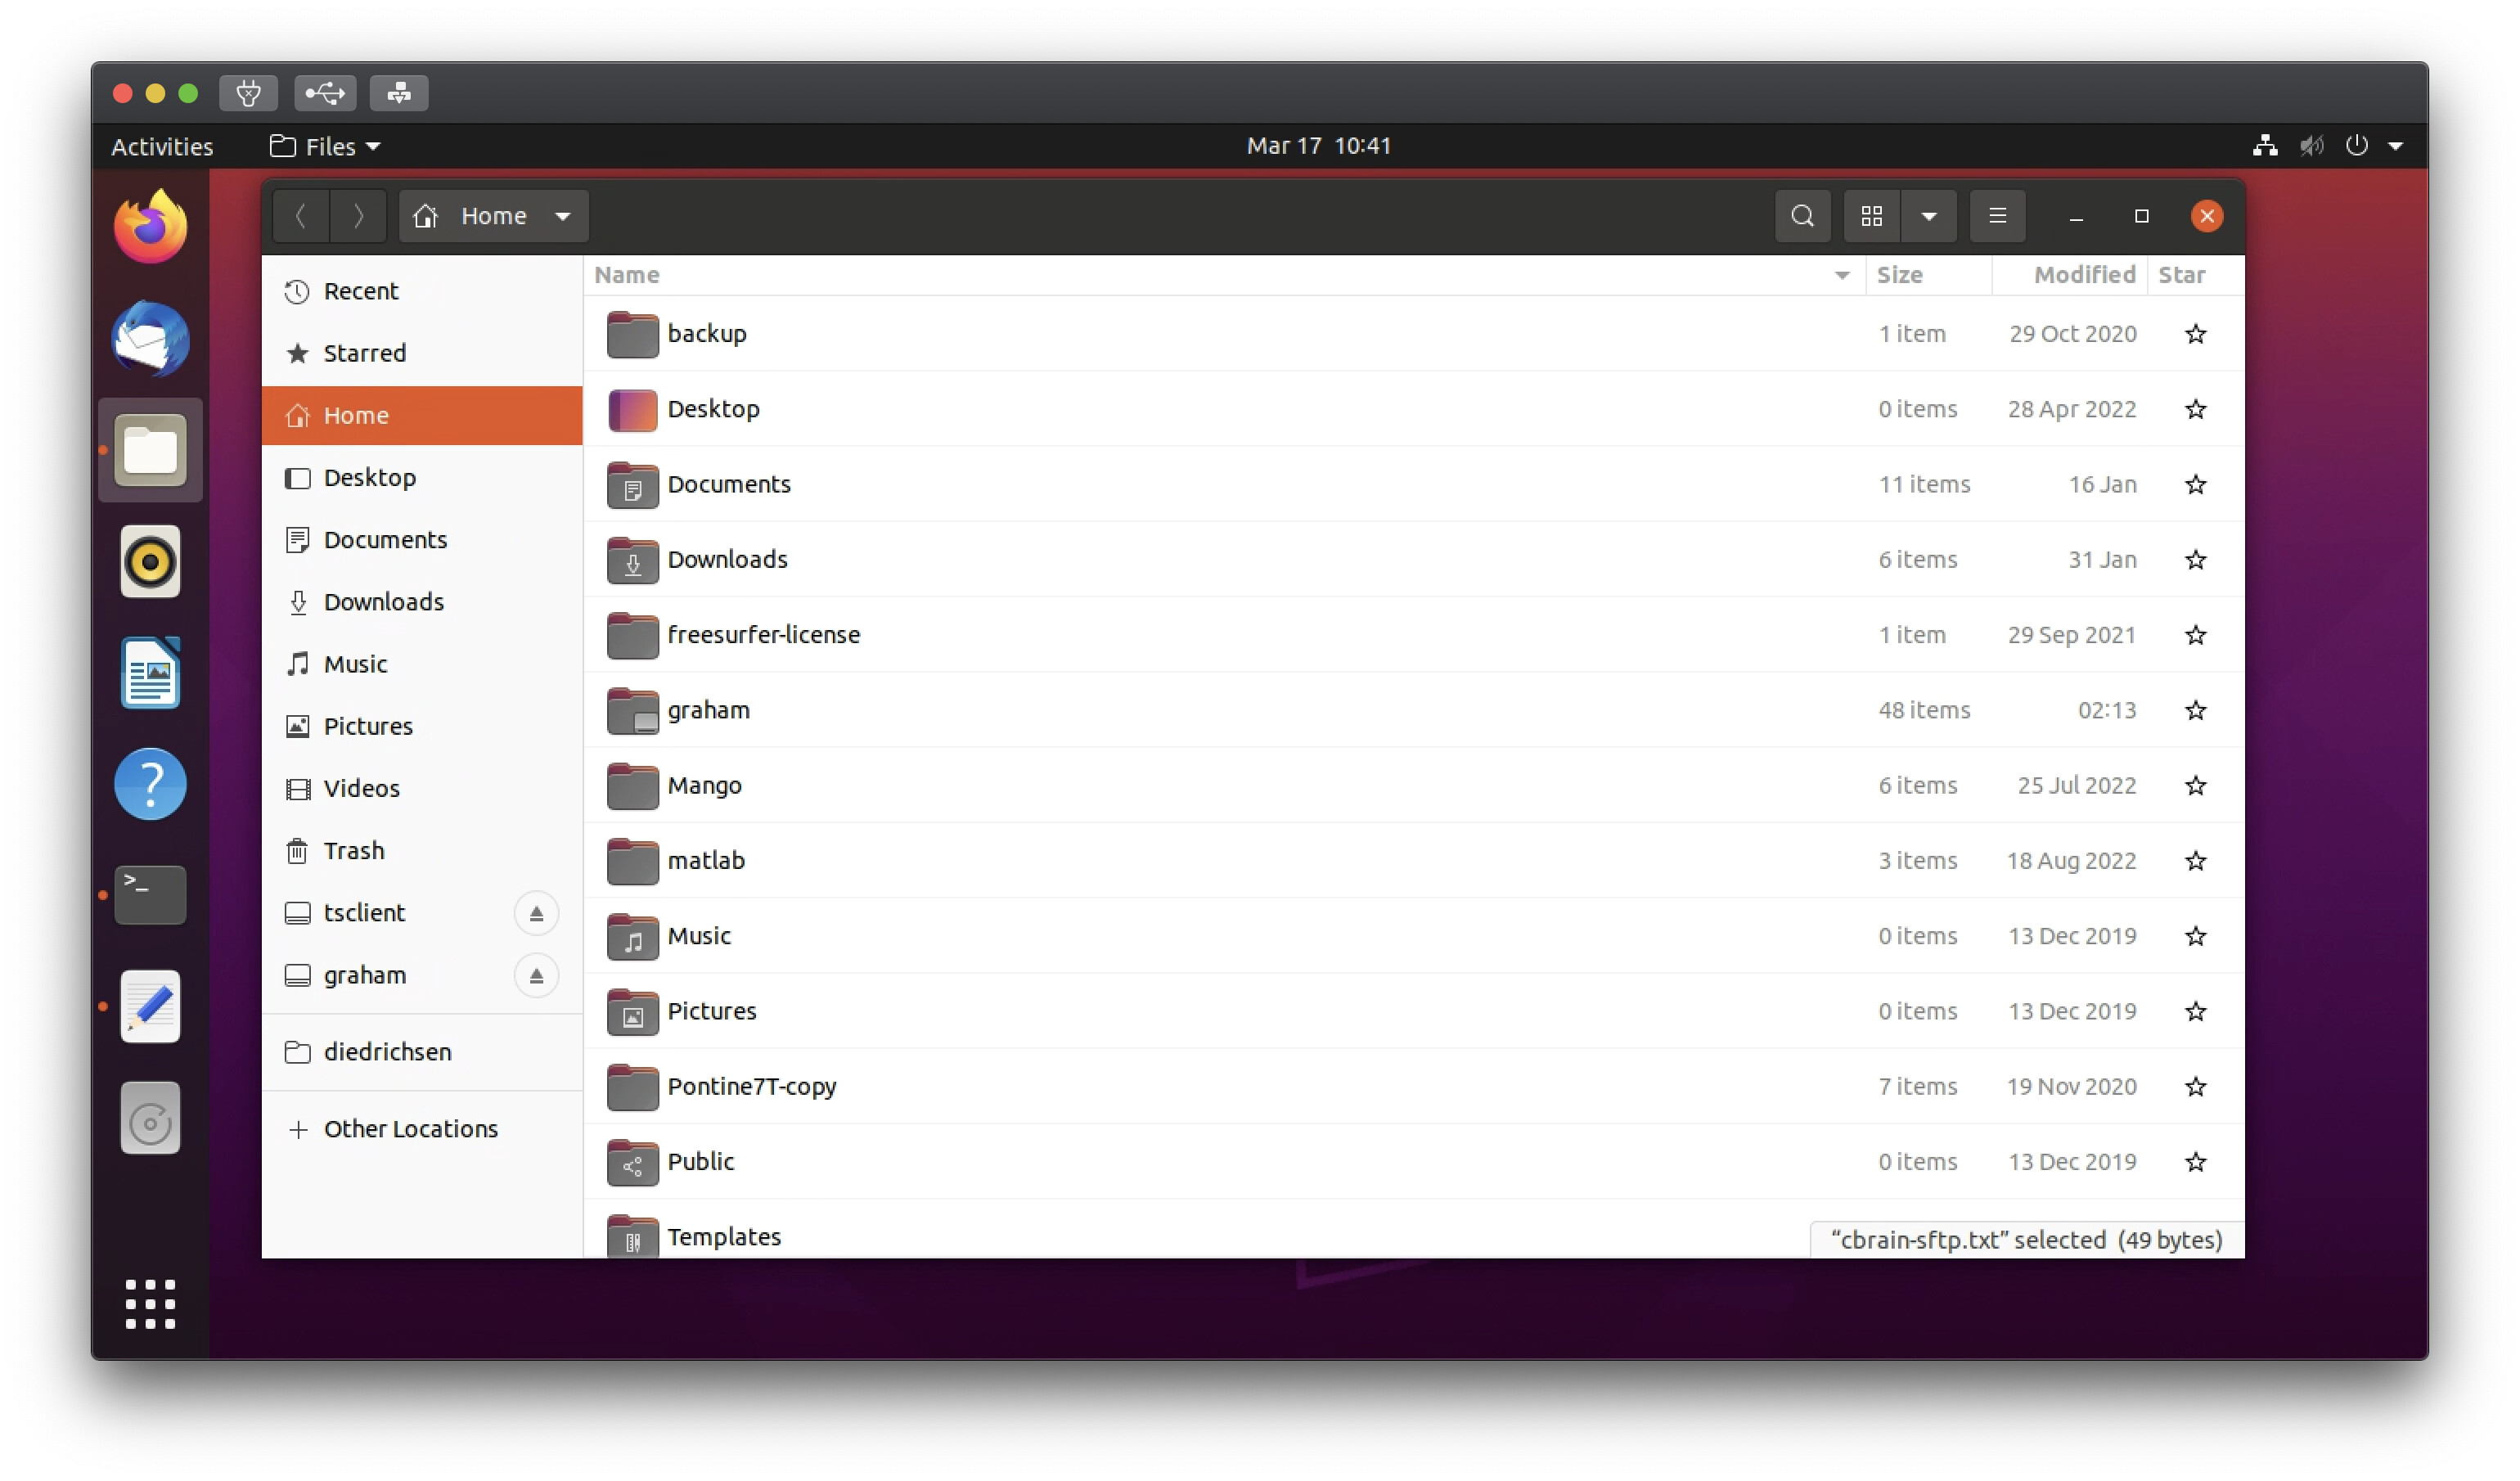
Once logged into the CBS server, you will want to open a File System GUI window and navigate to “Other Locations”.
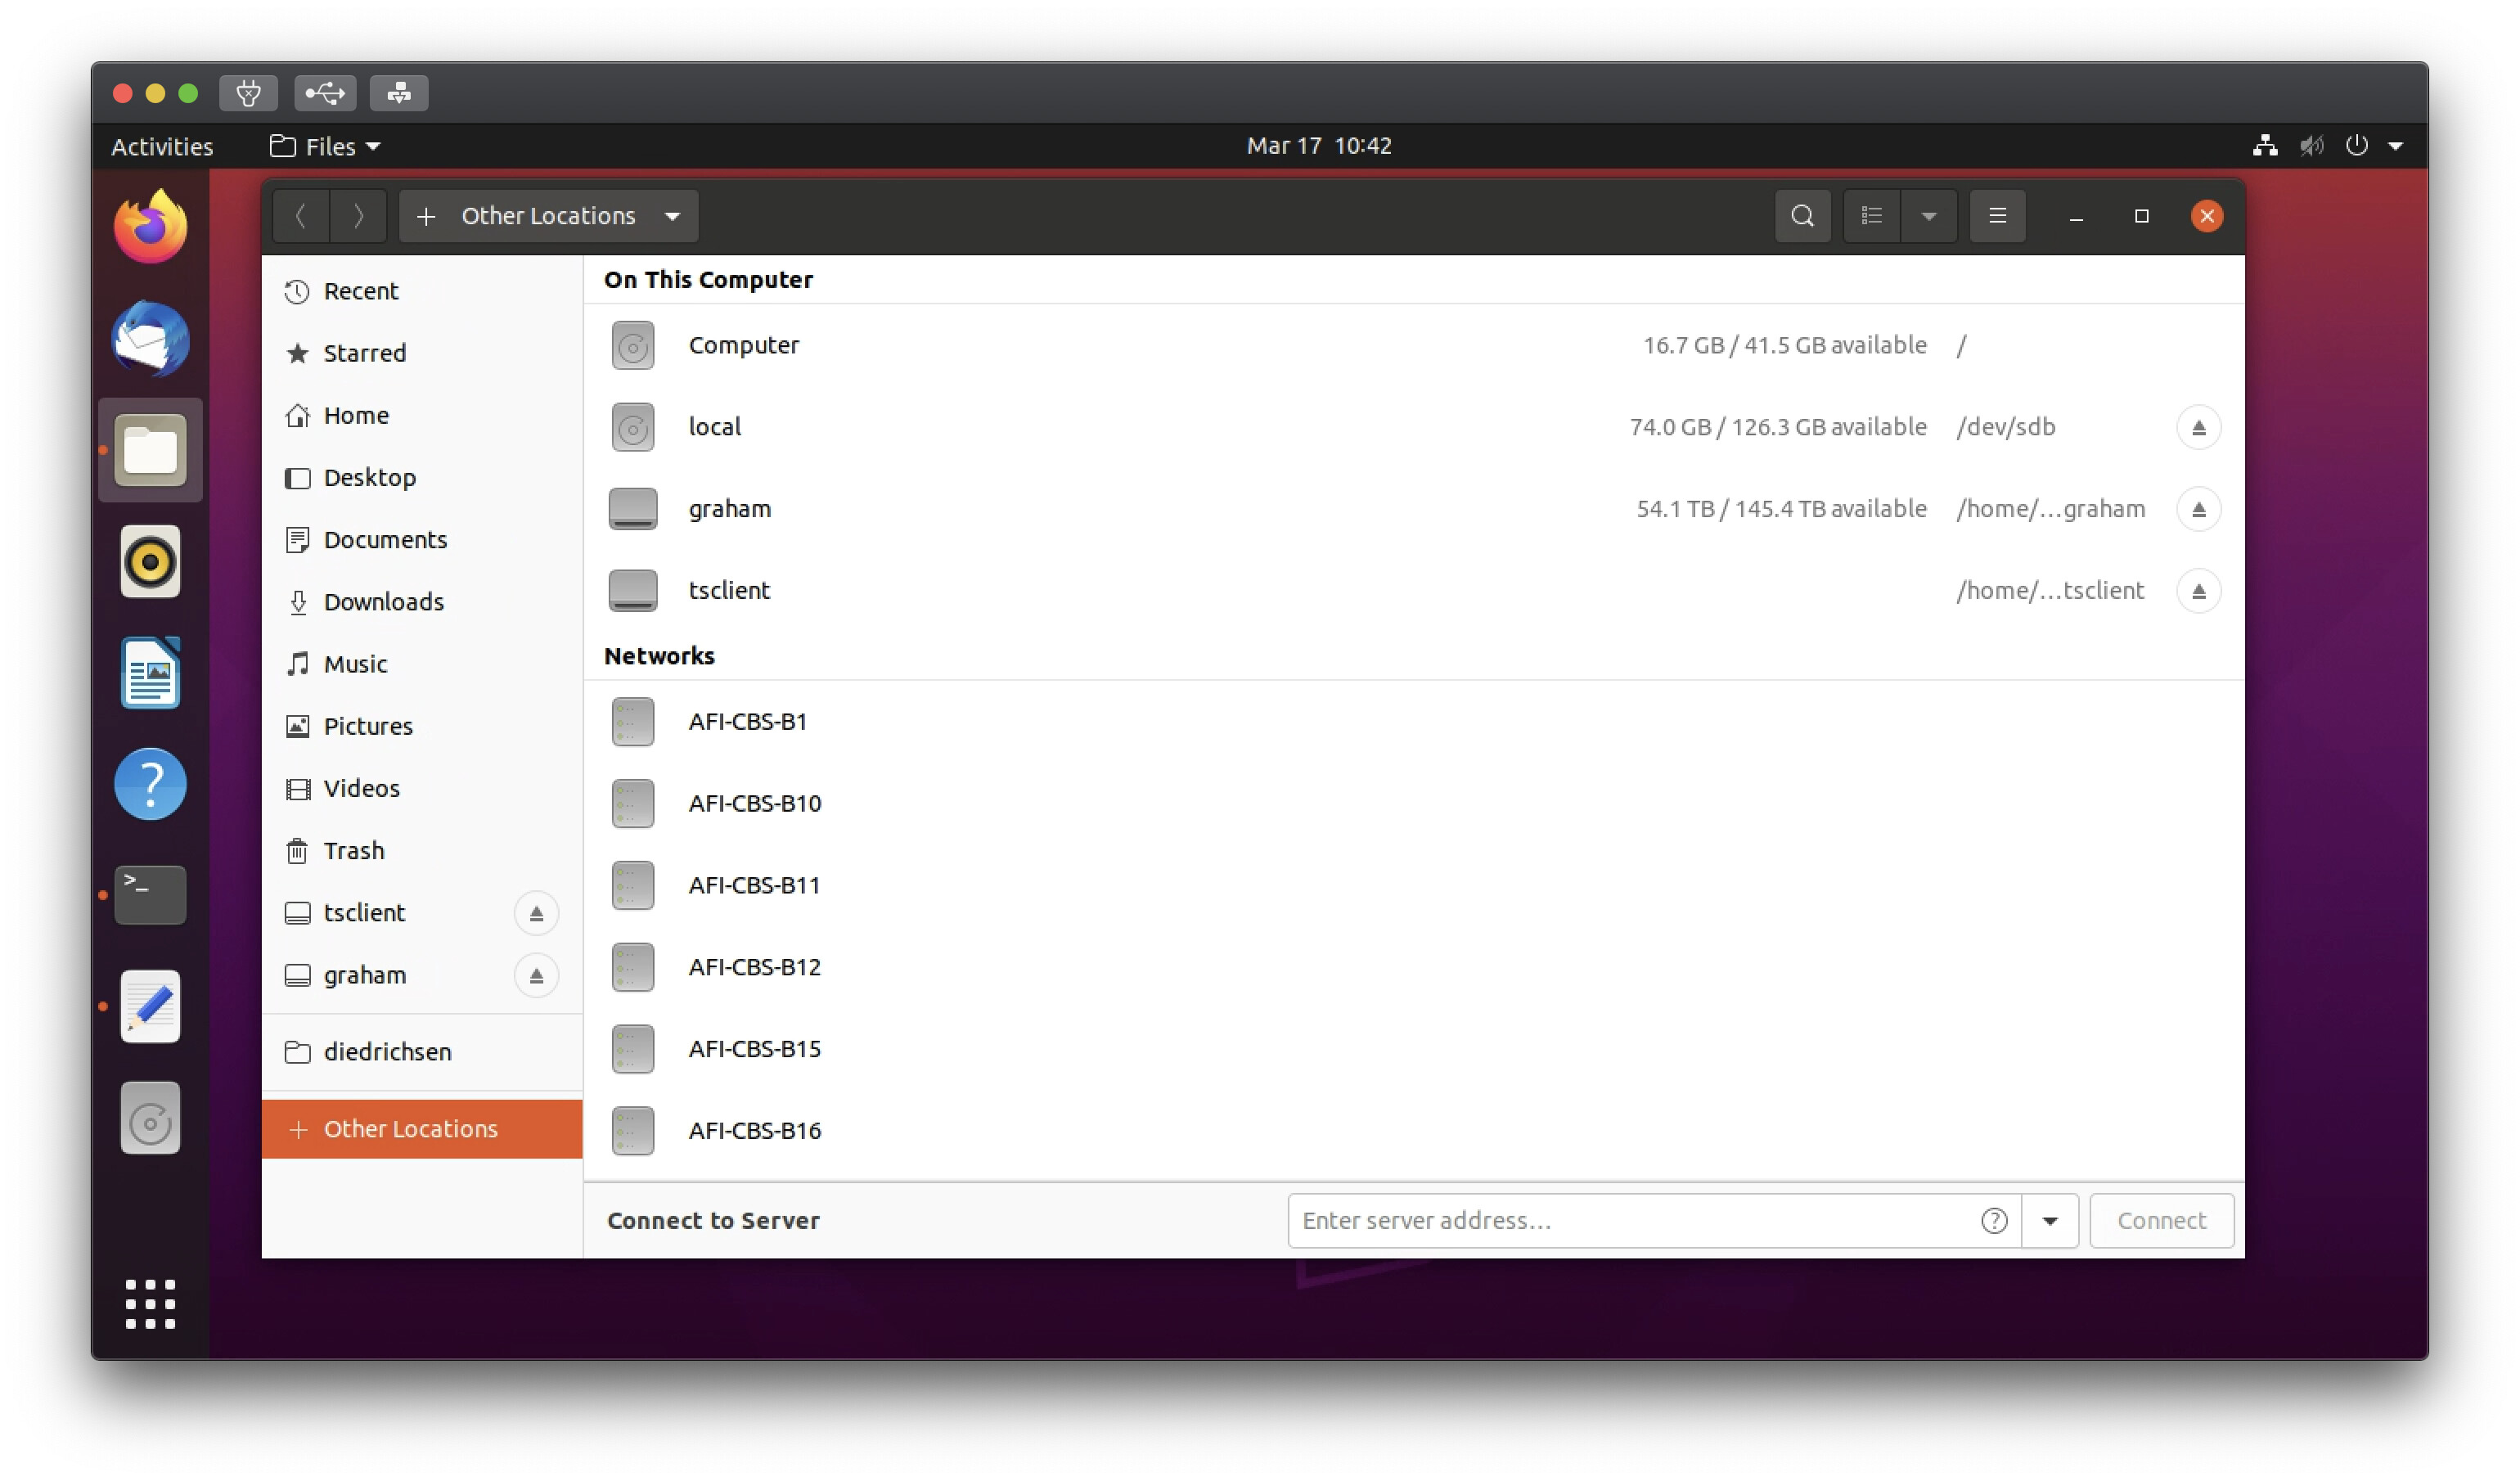
From the “Other Locations” window, you should see a box at the bottom of the window labelled, “Connect to Server” with a blank labelled, “Enter server address…”.
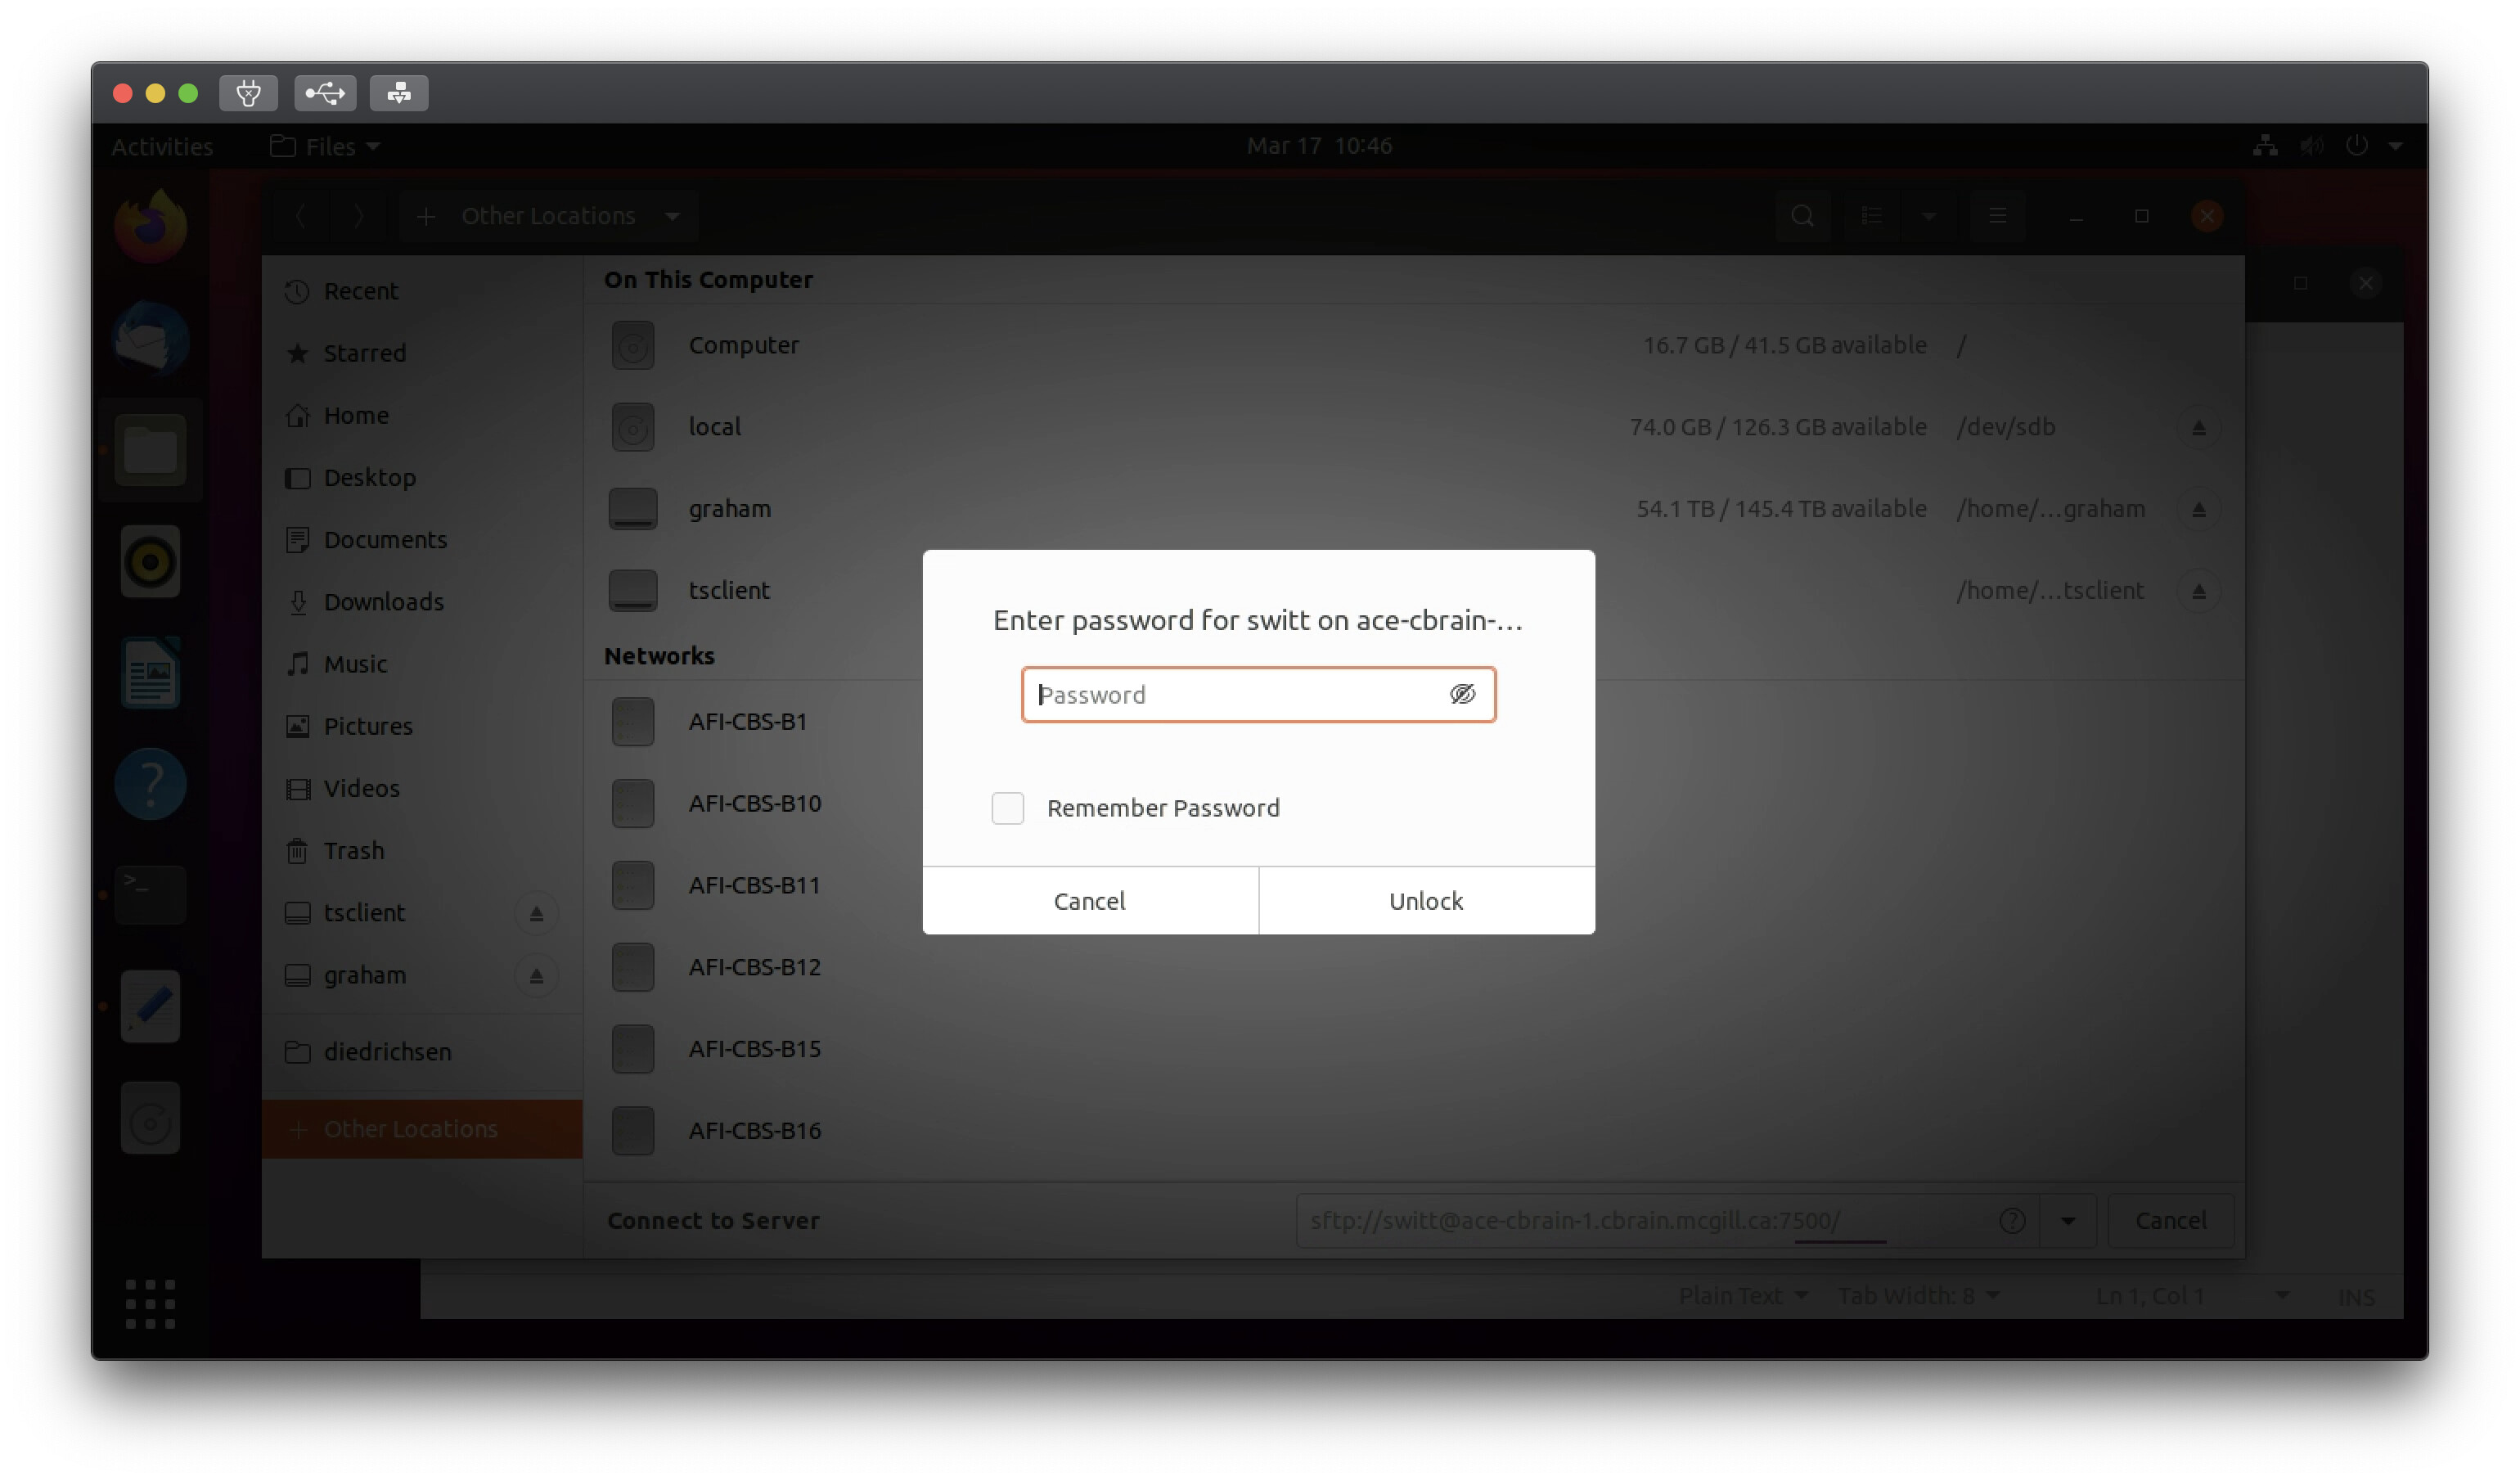
Following the information in the documentation linked above (https://portal.cbrain.mcgill.ca/doc/manual/uploading.html), copy the Connexion address for the SFTP server you wish to use. (It doesn’t matter whether you upload to SFTP-1 or SFTP-2, just remember which server you pick.) You will want to replace username in the sftp address with your CBRAIN server username. Once you click on “Connect”, a window will pop up asking for your CBRAIN server password:
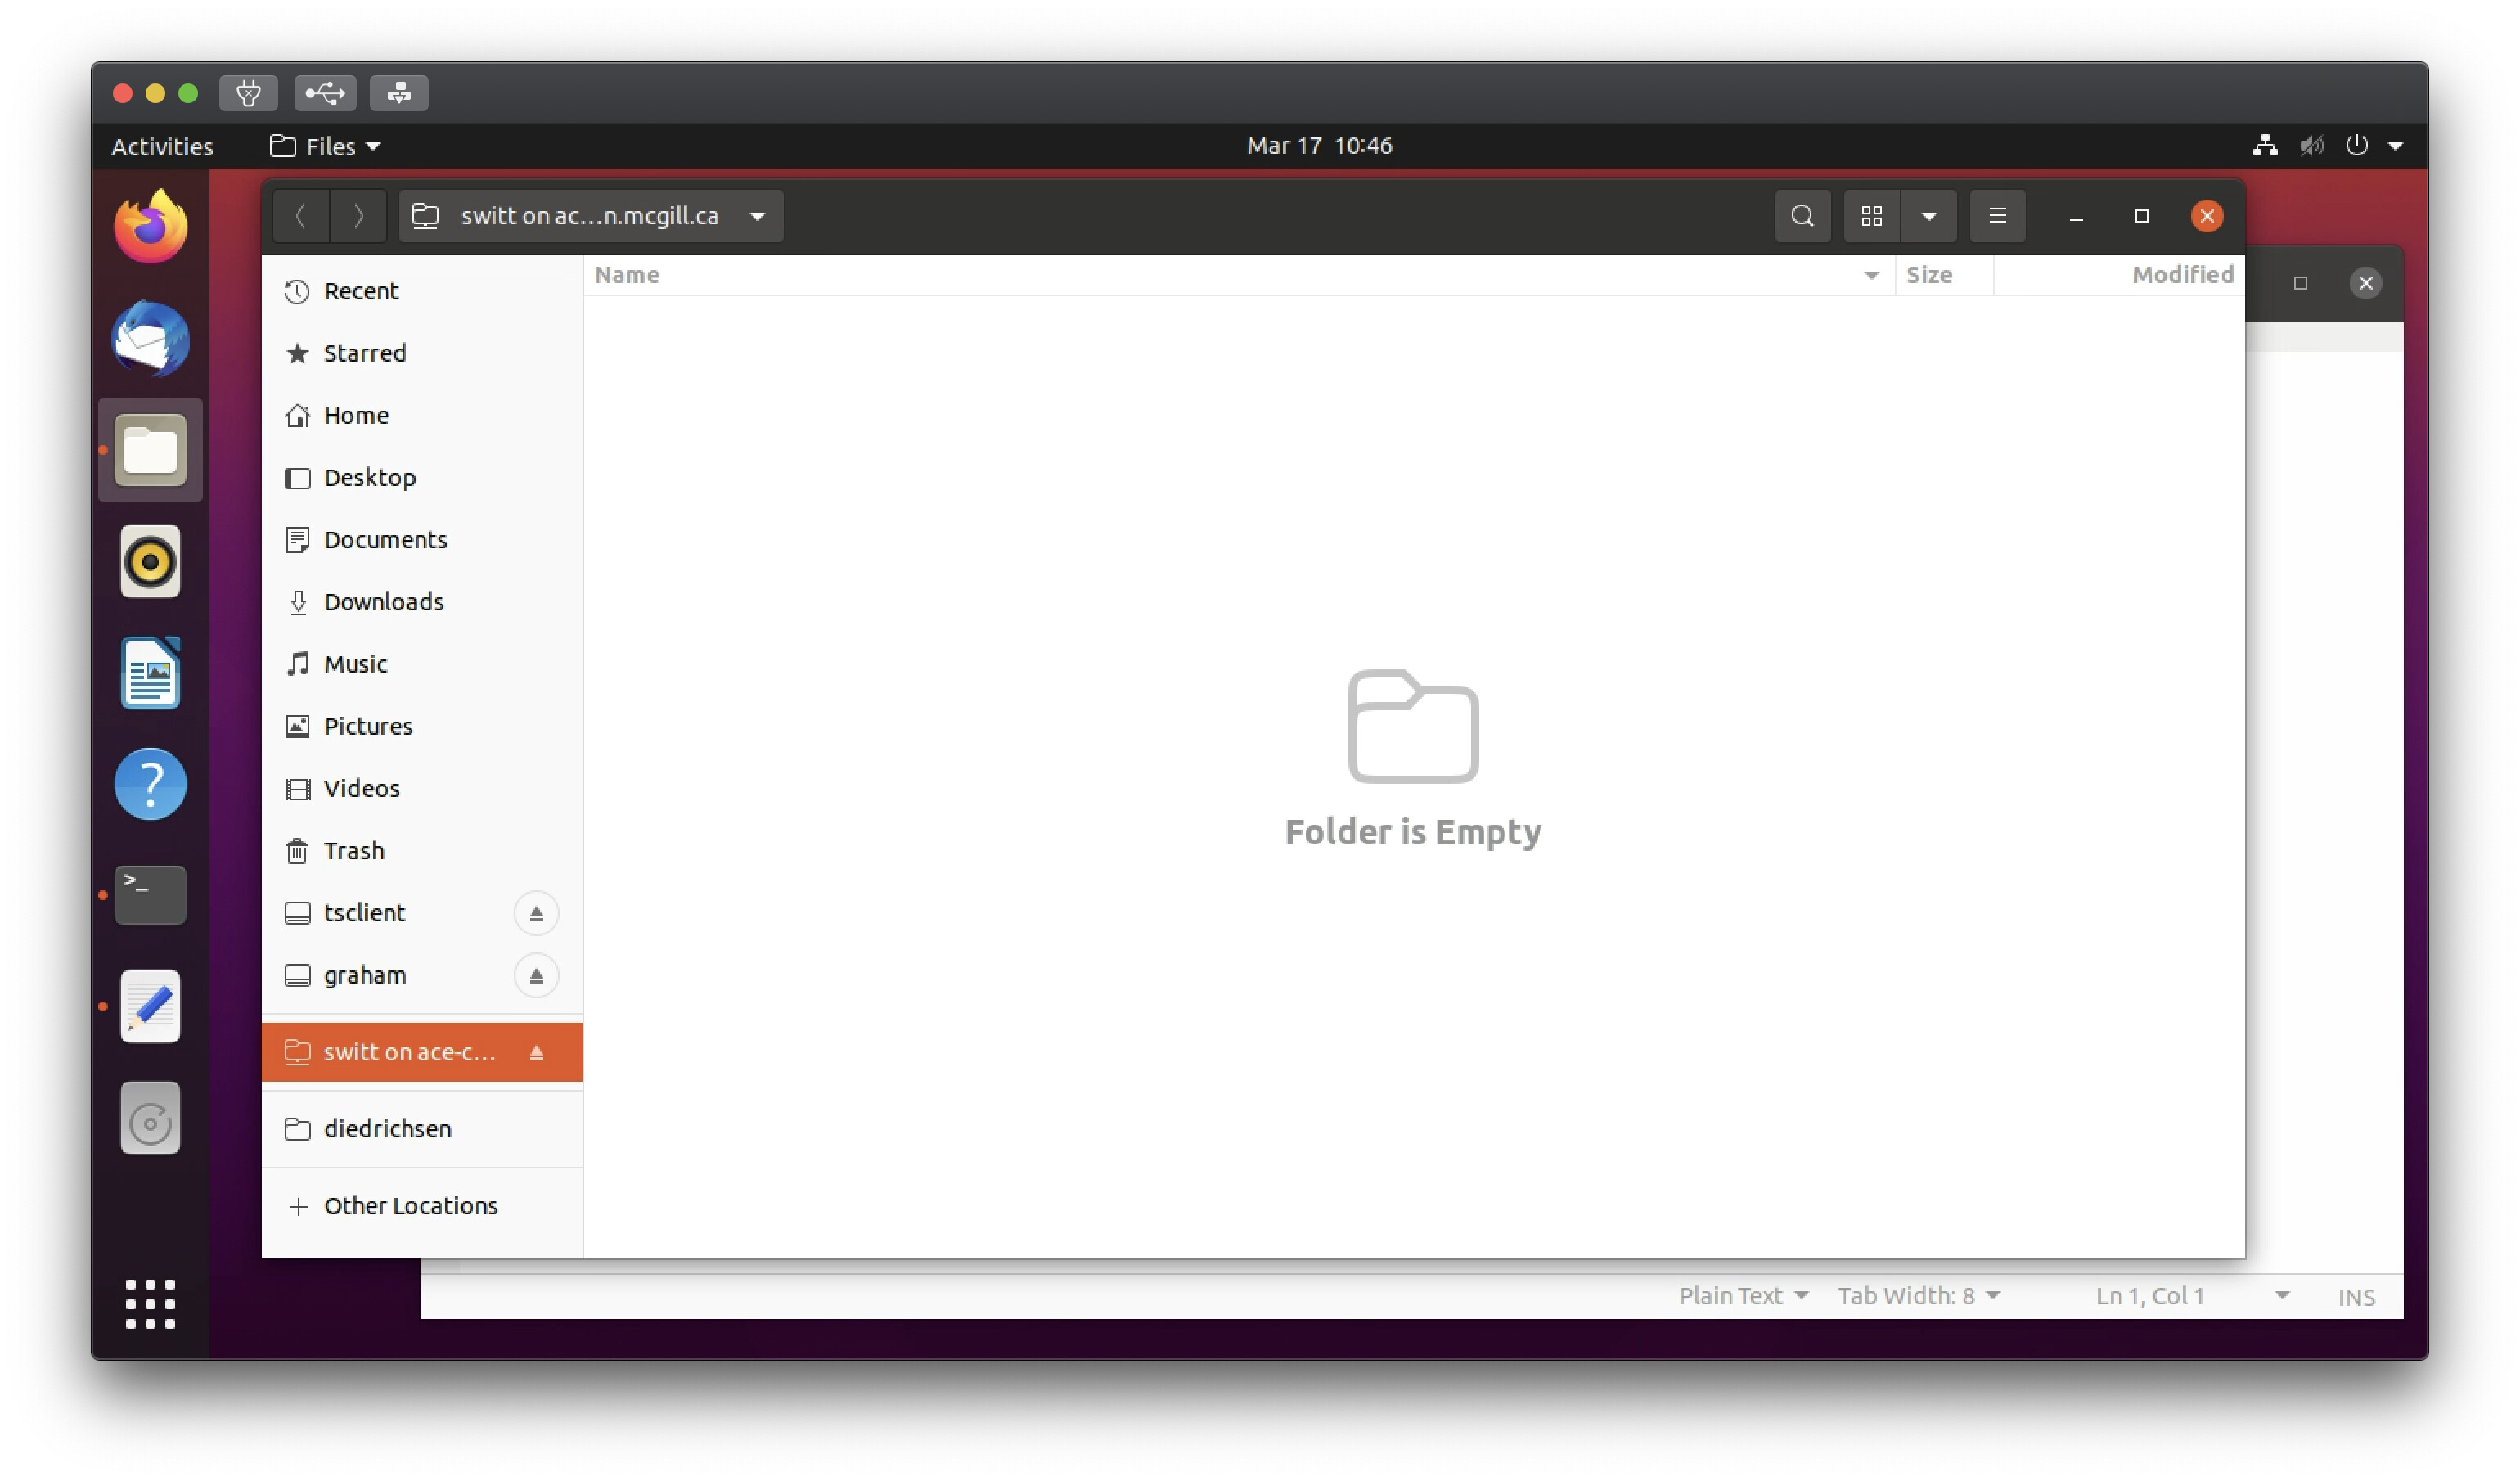
Once connected, the mount will show up in the left-hand list on the File System GUI window, and you should be automatically taken to the empty folder. From here you can drag and drop files as you would with any GUI-based file system.
Depending on the file size, uploading make take a few minutes. Keep an eye for a status wheel in the upper right-hand of the window next to the magnifying glass search button. Once the files and folders you dragged to the sftp folder appear in the window, you can safely assume that they have been successfully uploaded to the CBRAIN sftp server.
Finished with step 1 
Step 2: Retrieving your data and moving it to your main store on CBRAIN
Once you have finished uploading your data, you will need to retrieve it from the CBRAIN sftp server and move it to your user’s main store. (Consider starting with a small test set first, until you are sure you have the data formatted correctly.) To do this, you need to log into the CBRAIN web interface (https://portal.cbrain.mcgill.ca/login) using the same account you used to connect to the sftp server.
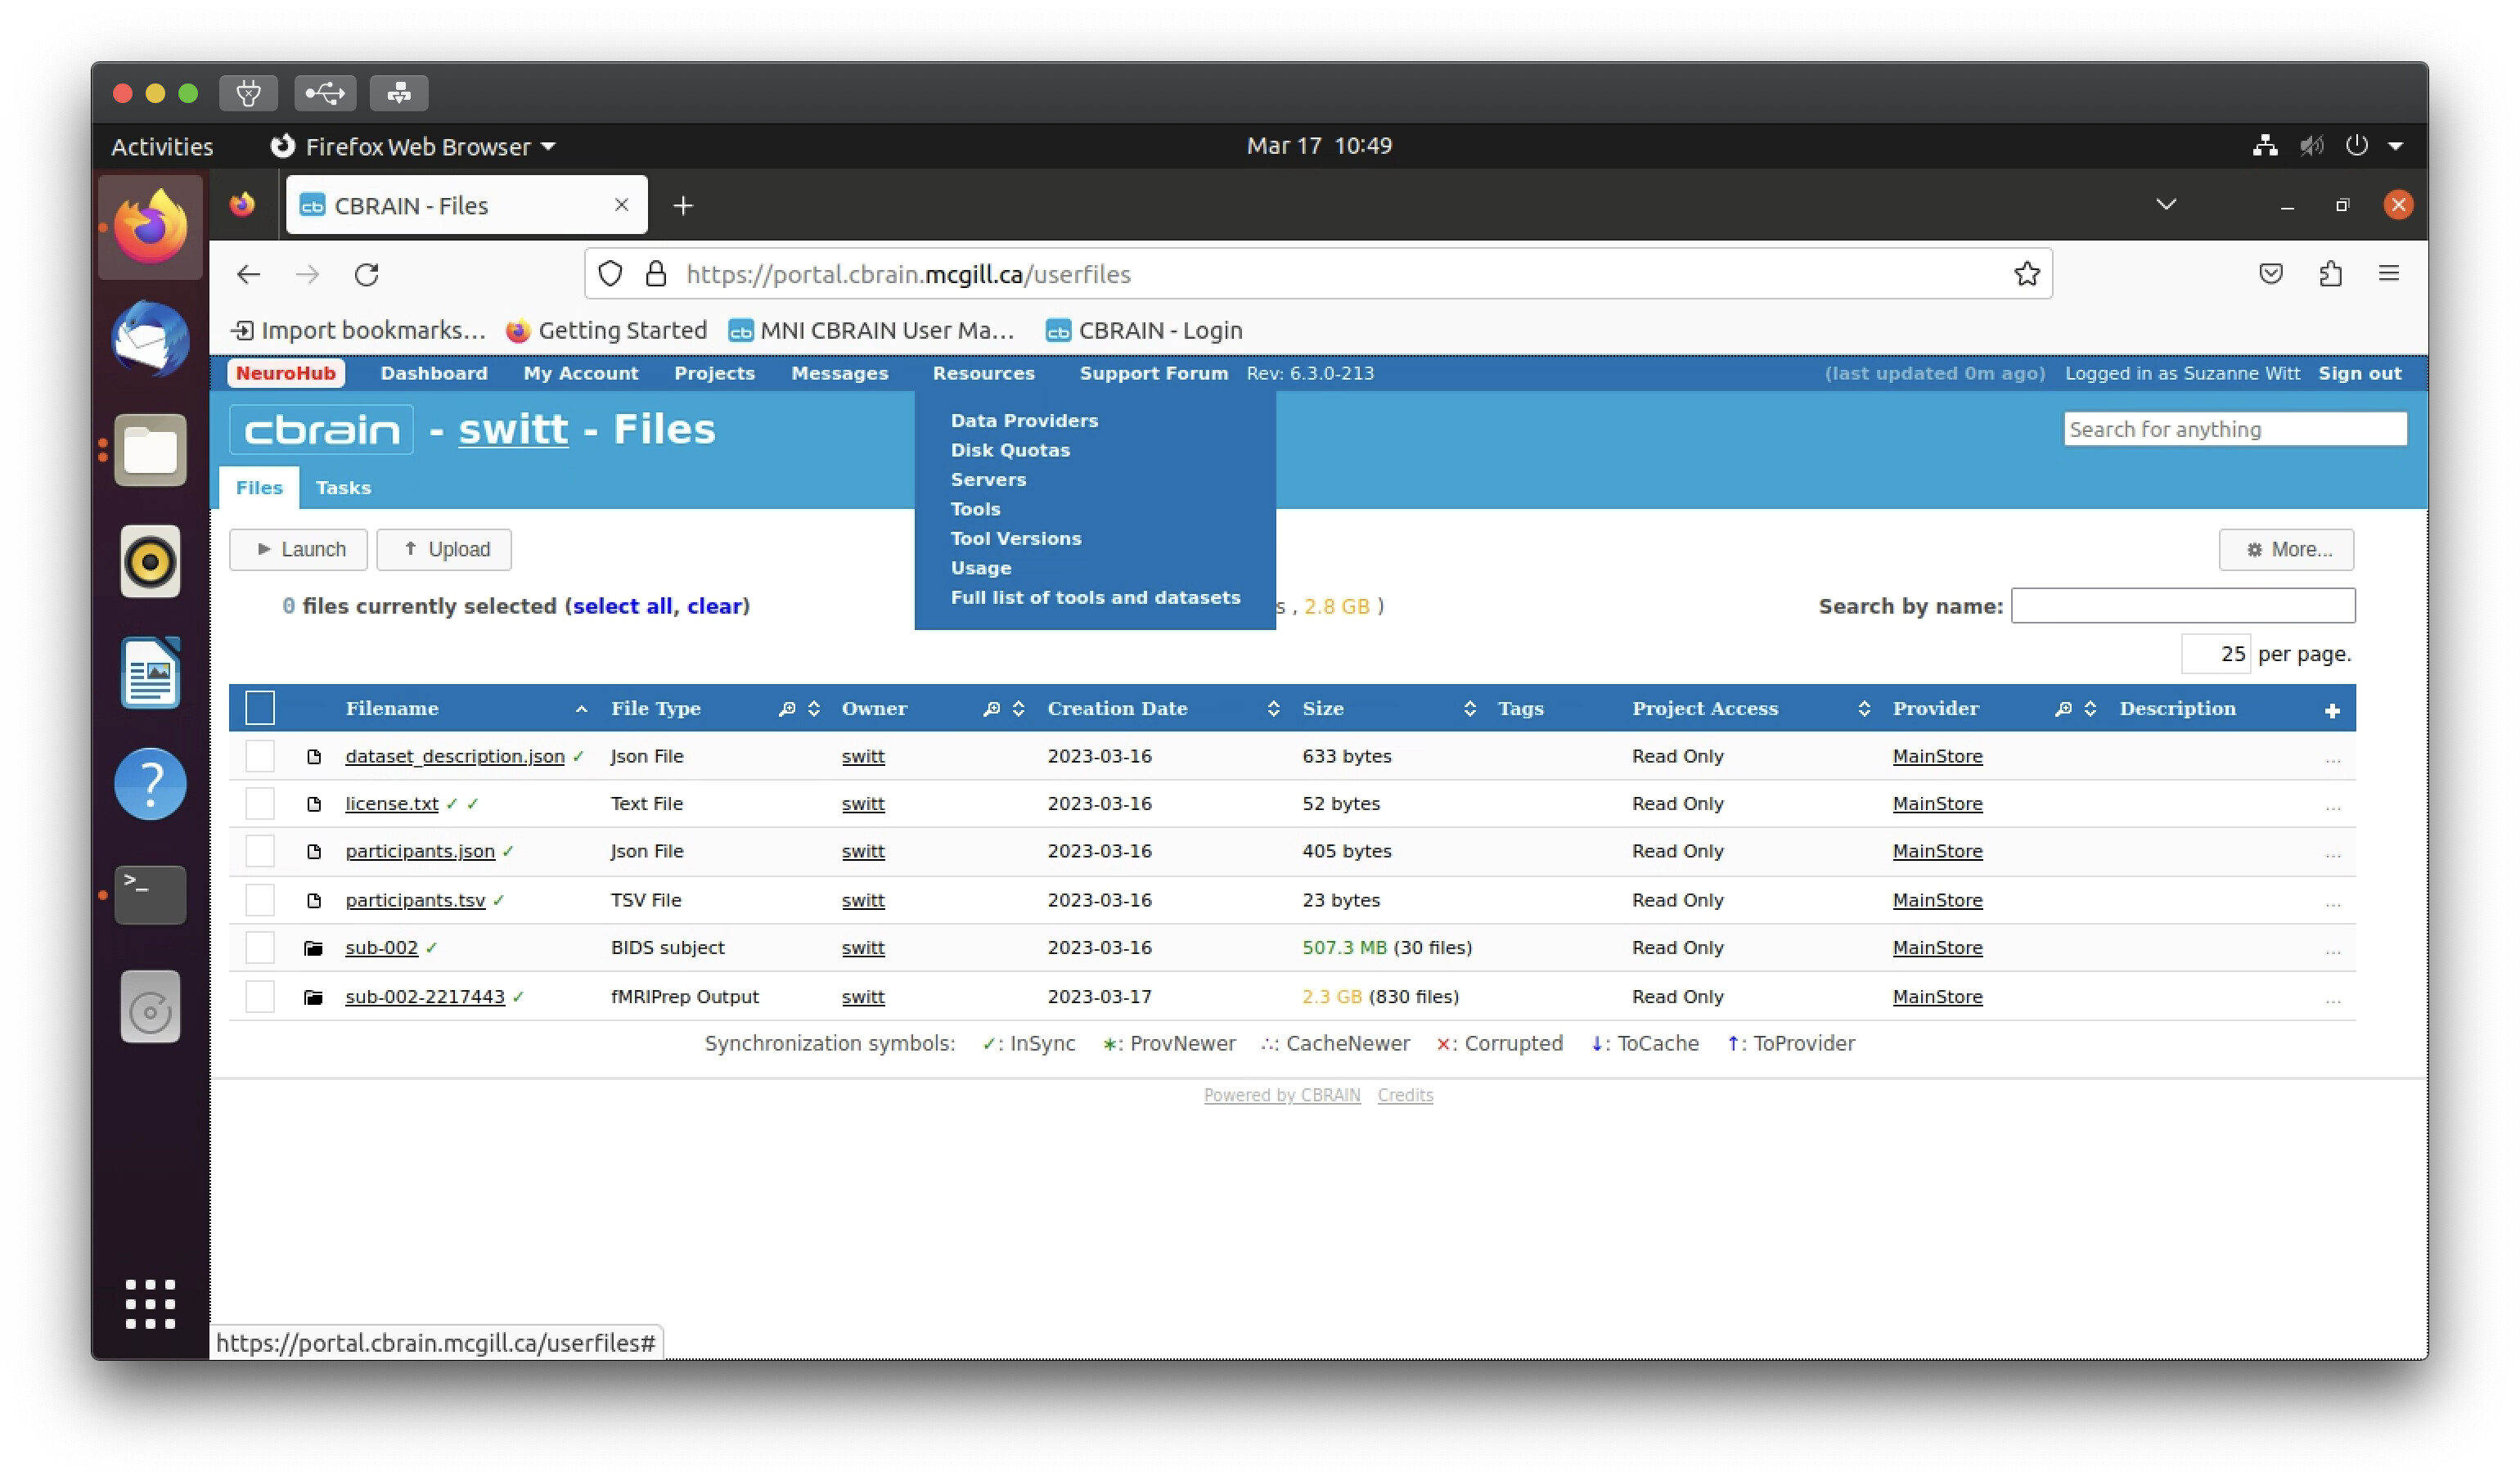
After logging in, navigate to your user’s project space. Under the “Resources” pull-down menu, the first option will be “Data Providers”, select this.
After selecting “Data Providers”, scroll down to the bottom of the list to find “SFTP-1” and “SFTP-2” in the list of data sources.
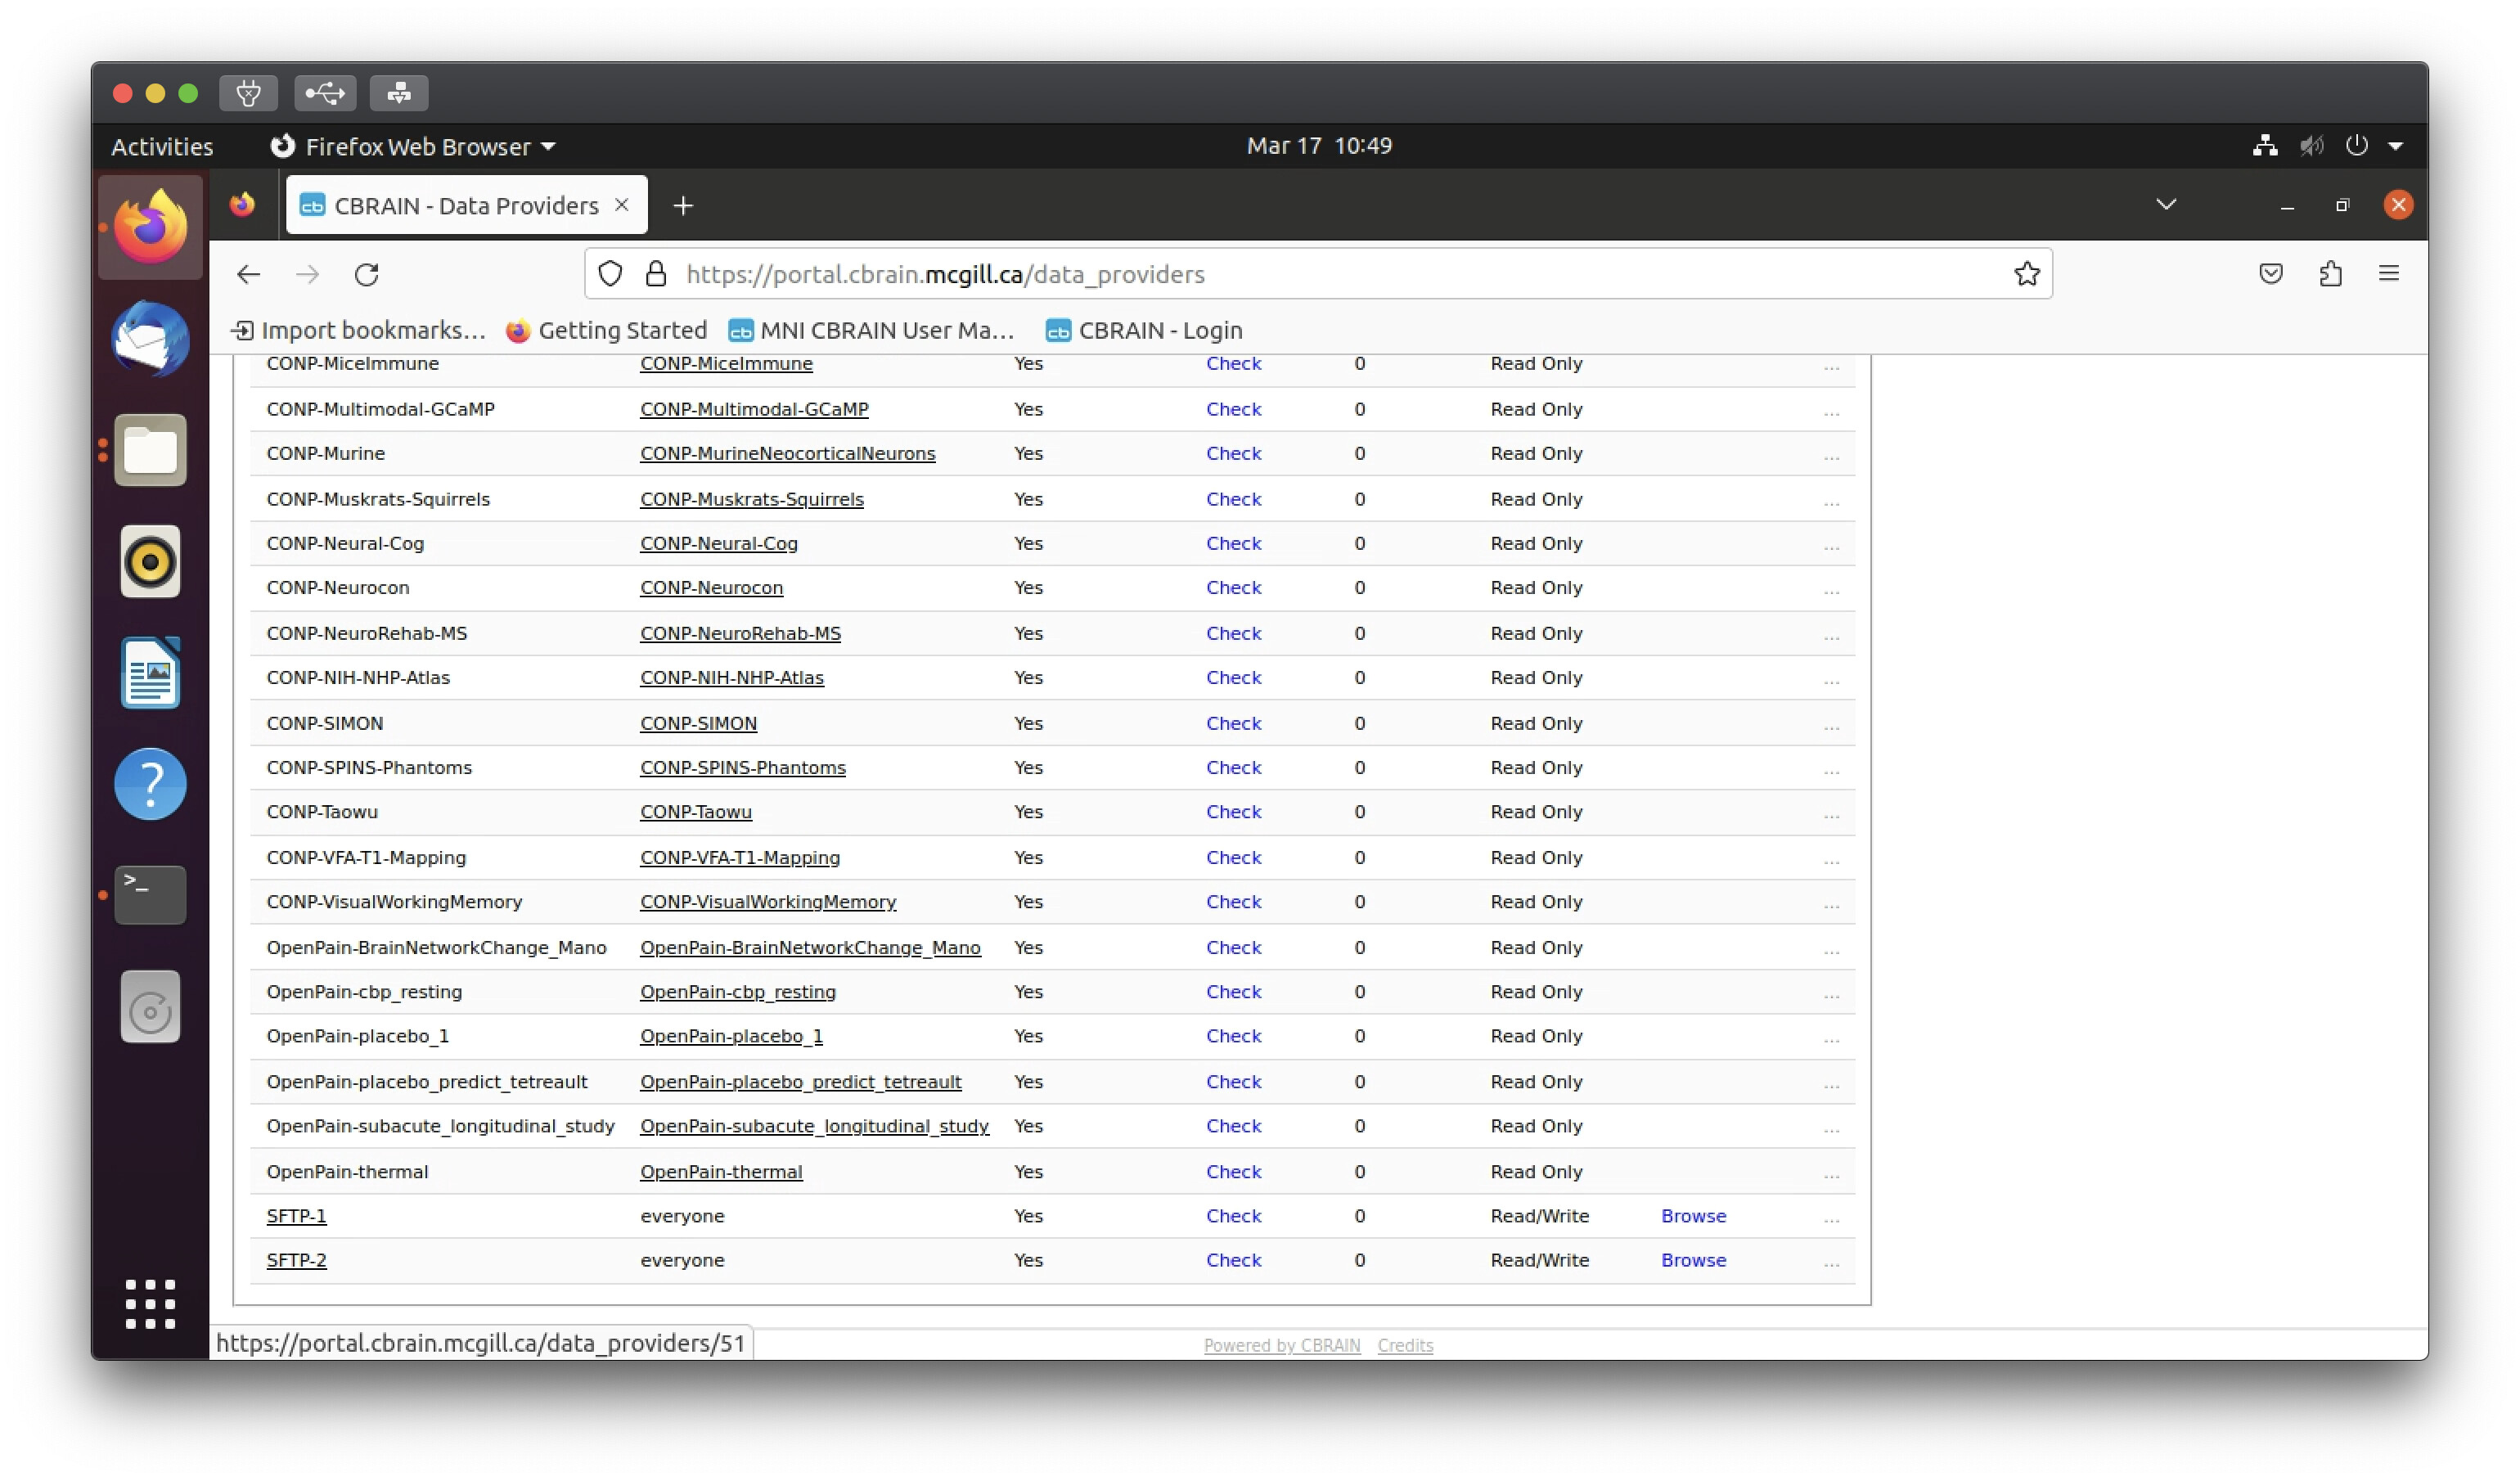
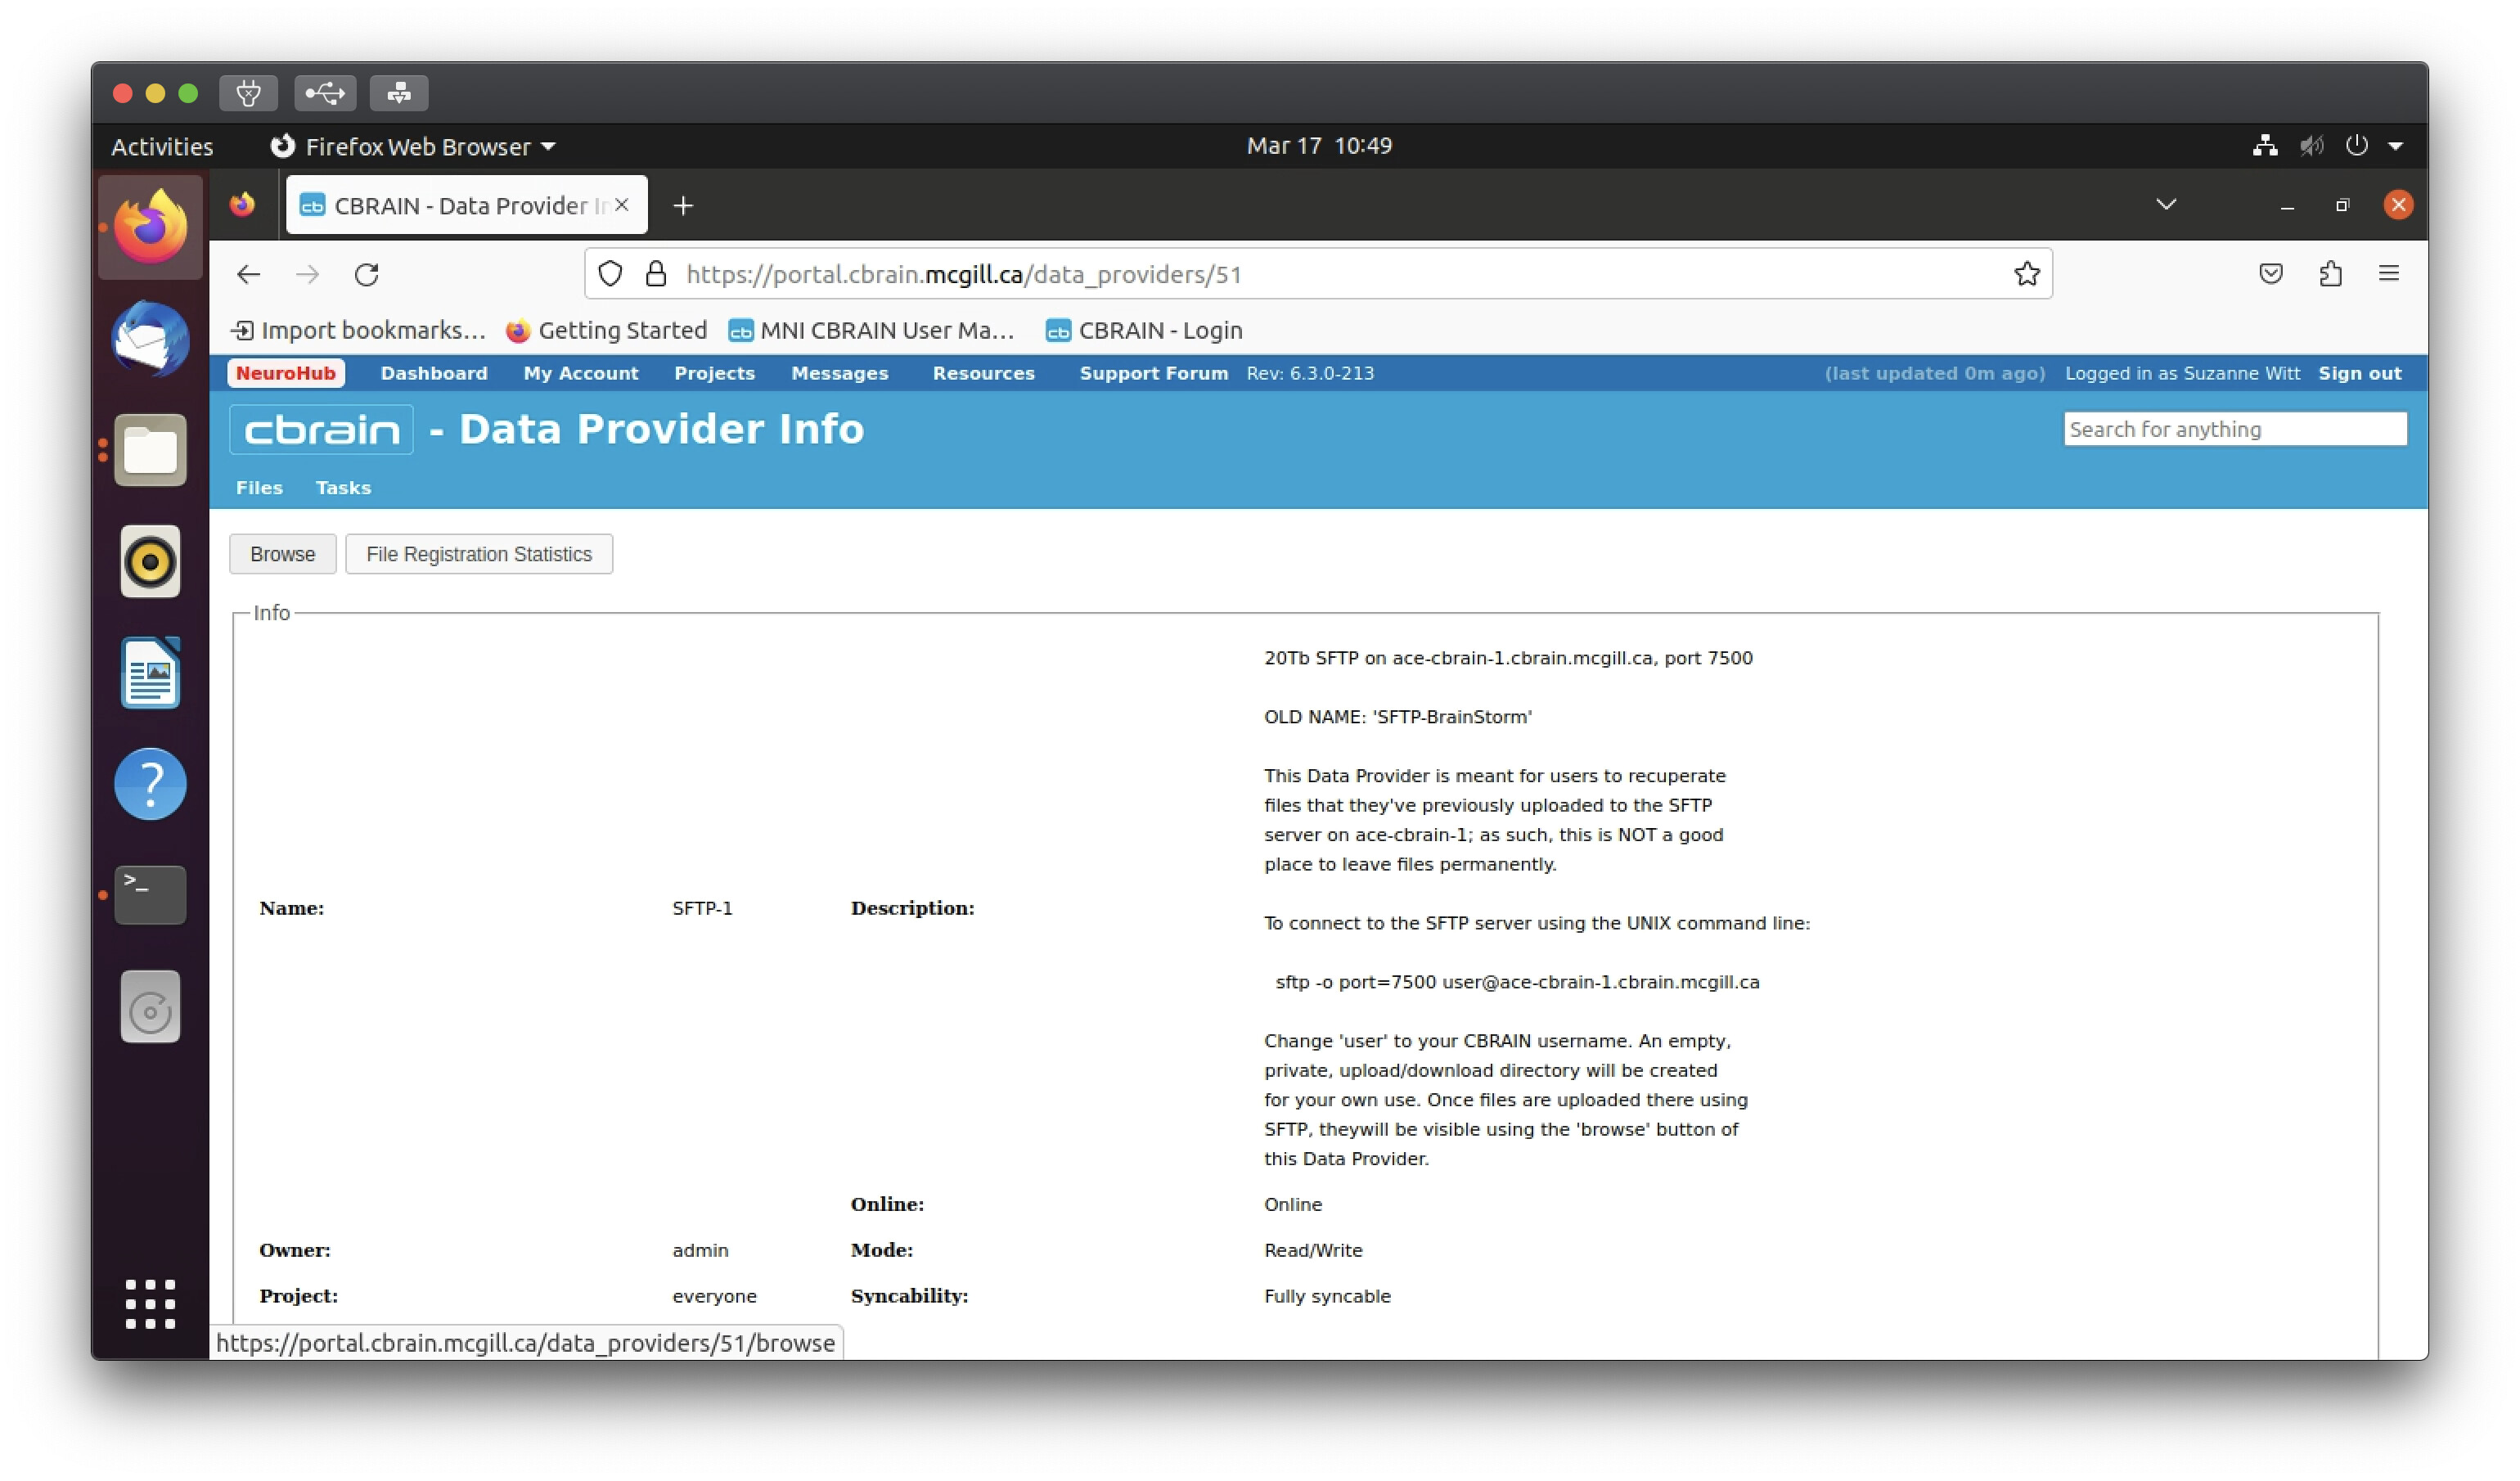
Click on whichever server you used during Step 1, and click on the “Browse” button.
You will be taken to a page with a list of every file and folder you uploaded to the sftp server that you have not moved to your main store. (Note that you will only be able to see the files and folders that your user uploaded; you will not be able to see any files uploaded by another user.) Select the check boxes for all of the files/folders you uploaded and then click on the “Register Files” pull-down menu. From here you will want to: 1) assign the files to your user’s project, 2) MOVE the files to the Data Provider", and 3) select “MainStore”. Then click on the “Register the files!” button.
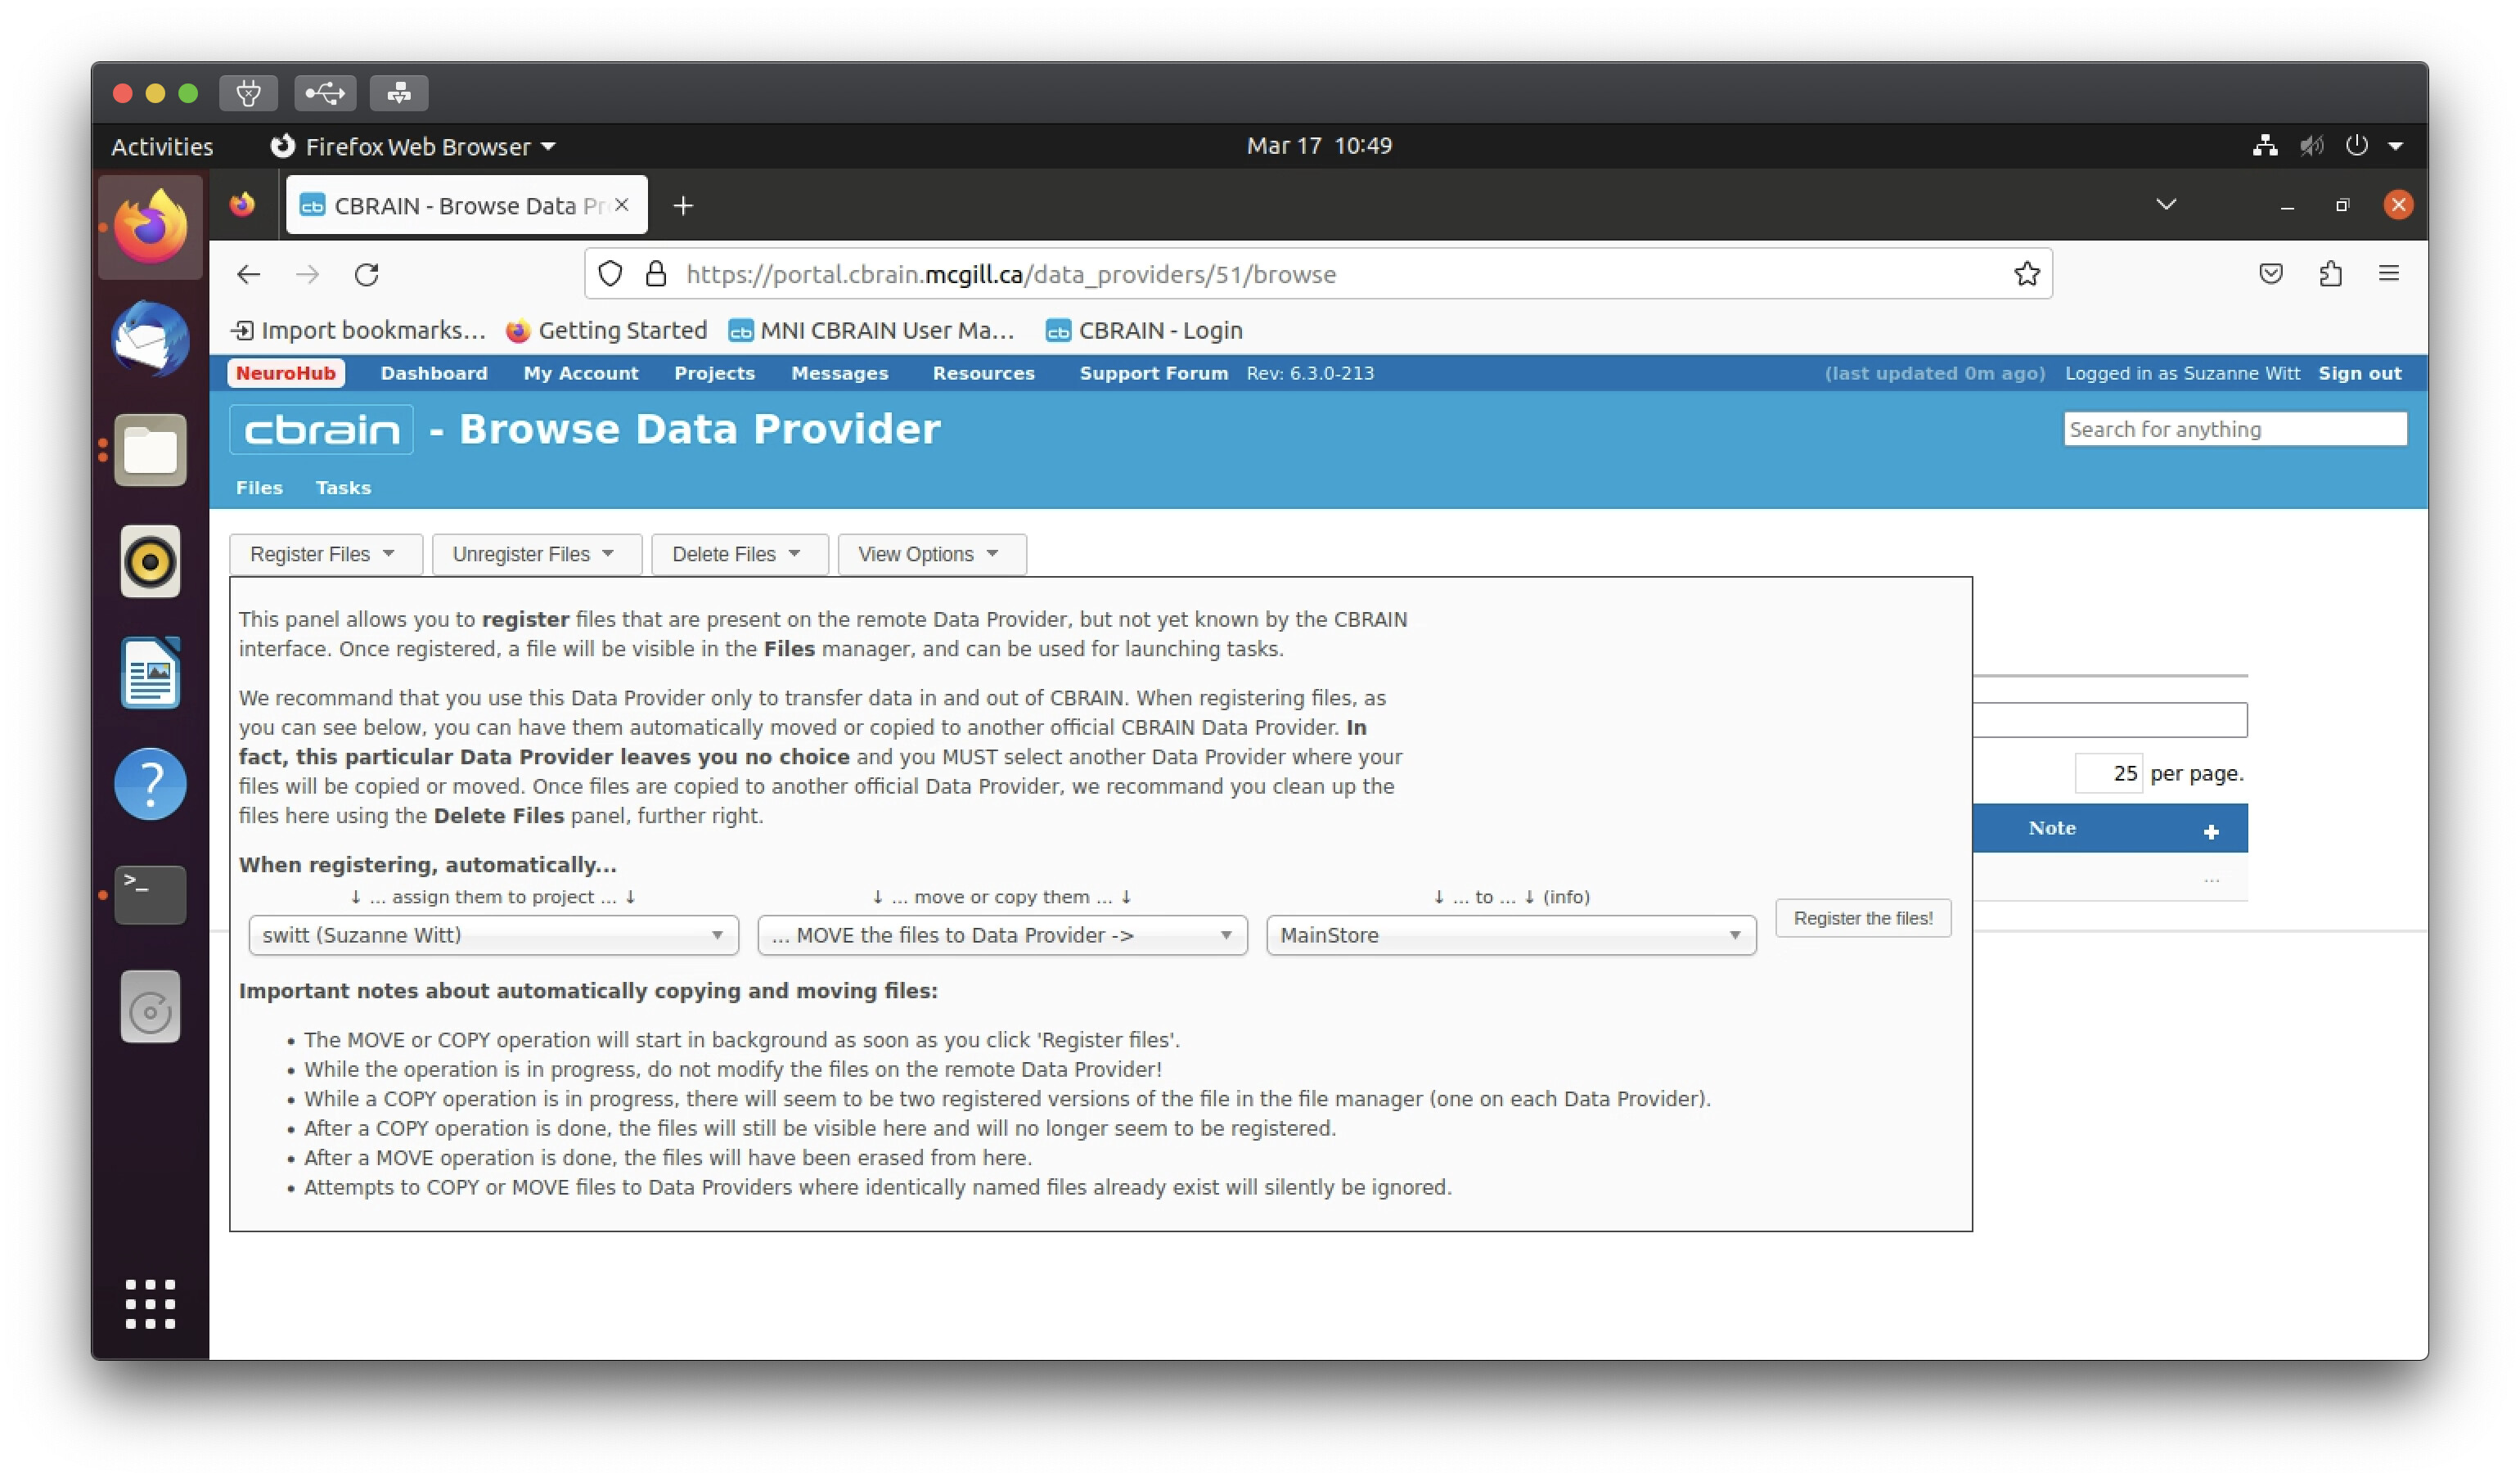
CBRAIN will start a background process to move all of your files from the sftp server to your user’s main store on CBRAIN. This should only take a few minutes, perhaps a bit longer if you have uploaded a lot of data. You will be able to see the files in the “Files” tab of your user’s project page:
You have now successfully retrieved your data from the CBRAIN sftp server and moved it to your user’s main store. You are now ready to test out using one of CBRAIN’s tools to analyses your data.
Step 3: Running fMRIPrep on a single subject
This last step covers running fMRIPrep on a single BIDS-valid subject. While the exact details will be different depending on the tool, the below instructions should server as a reasonable guide to what to expect from the CBRAIN tool interface.
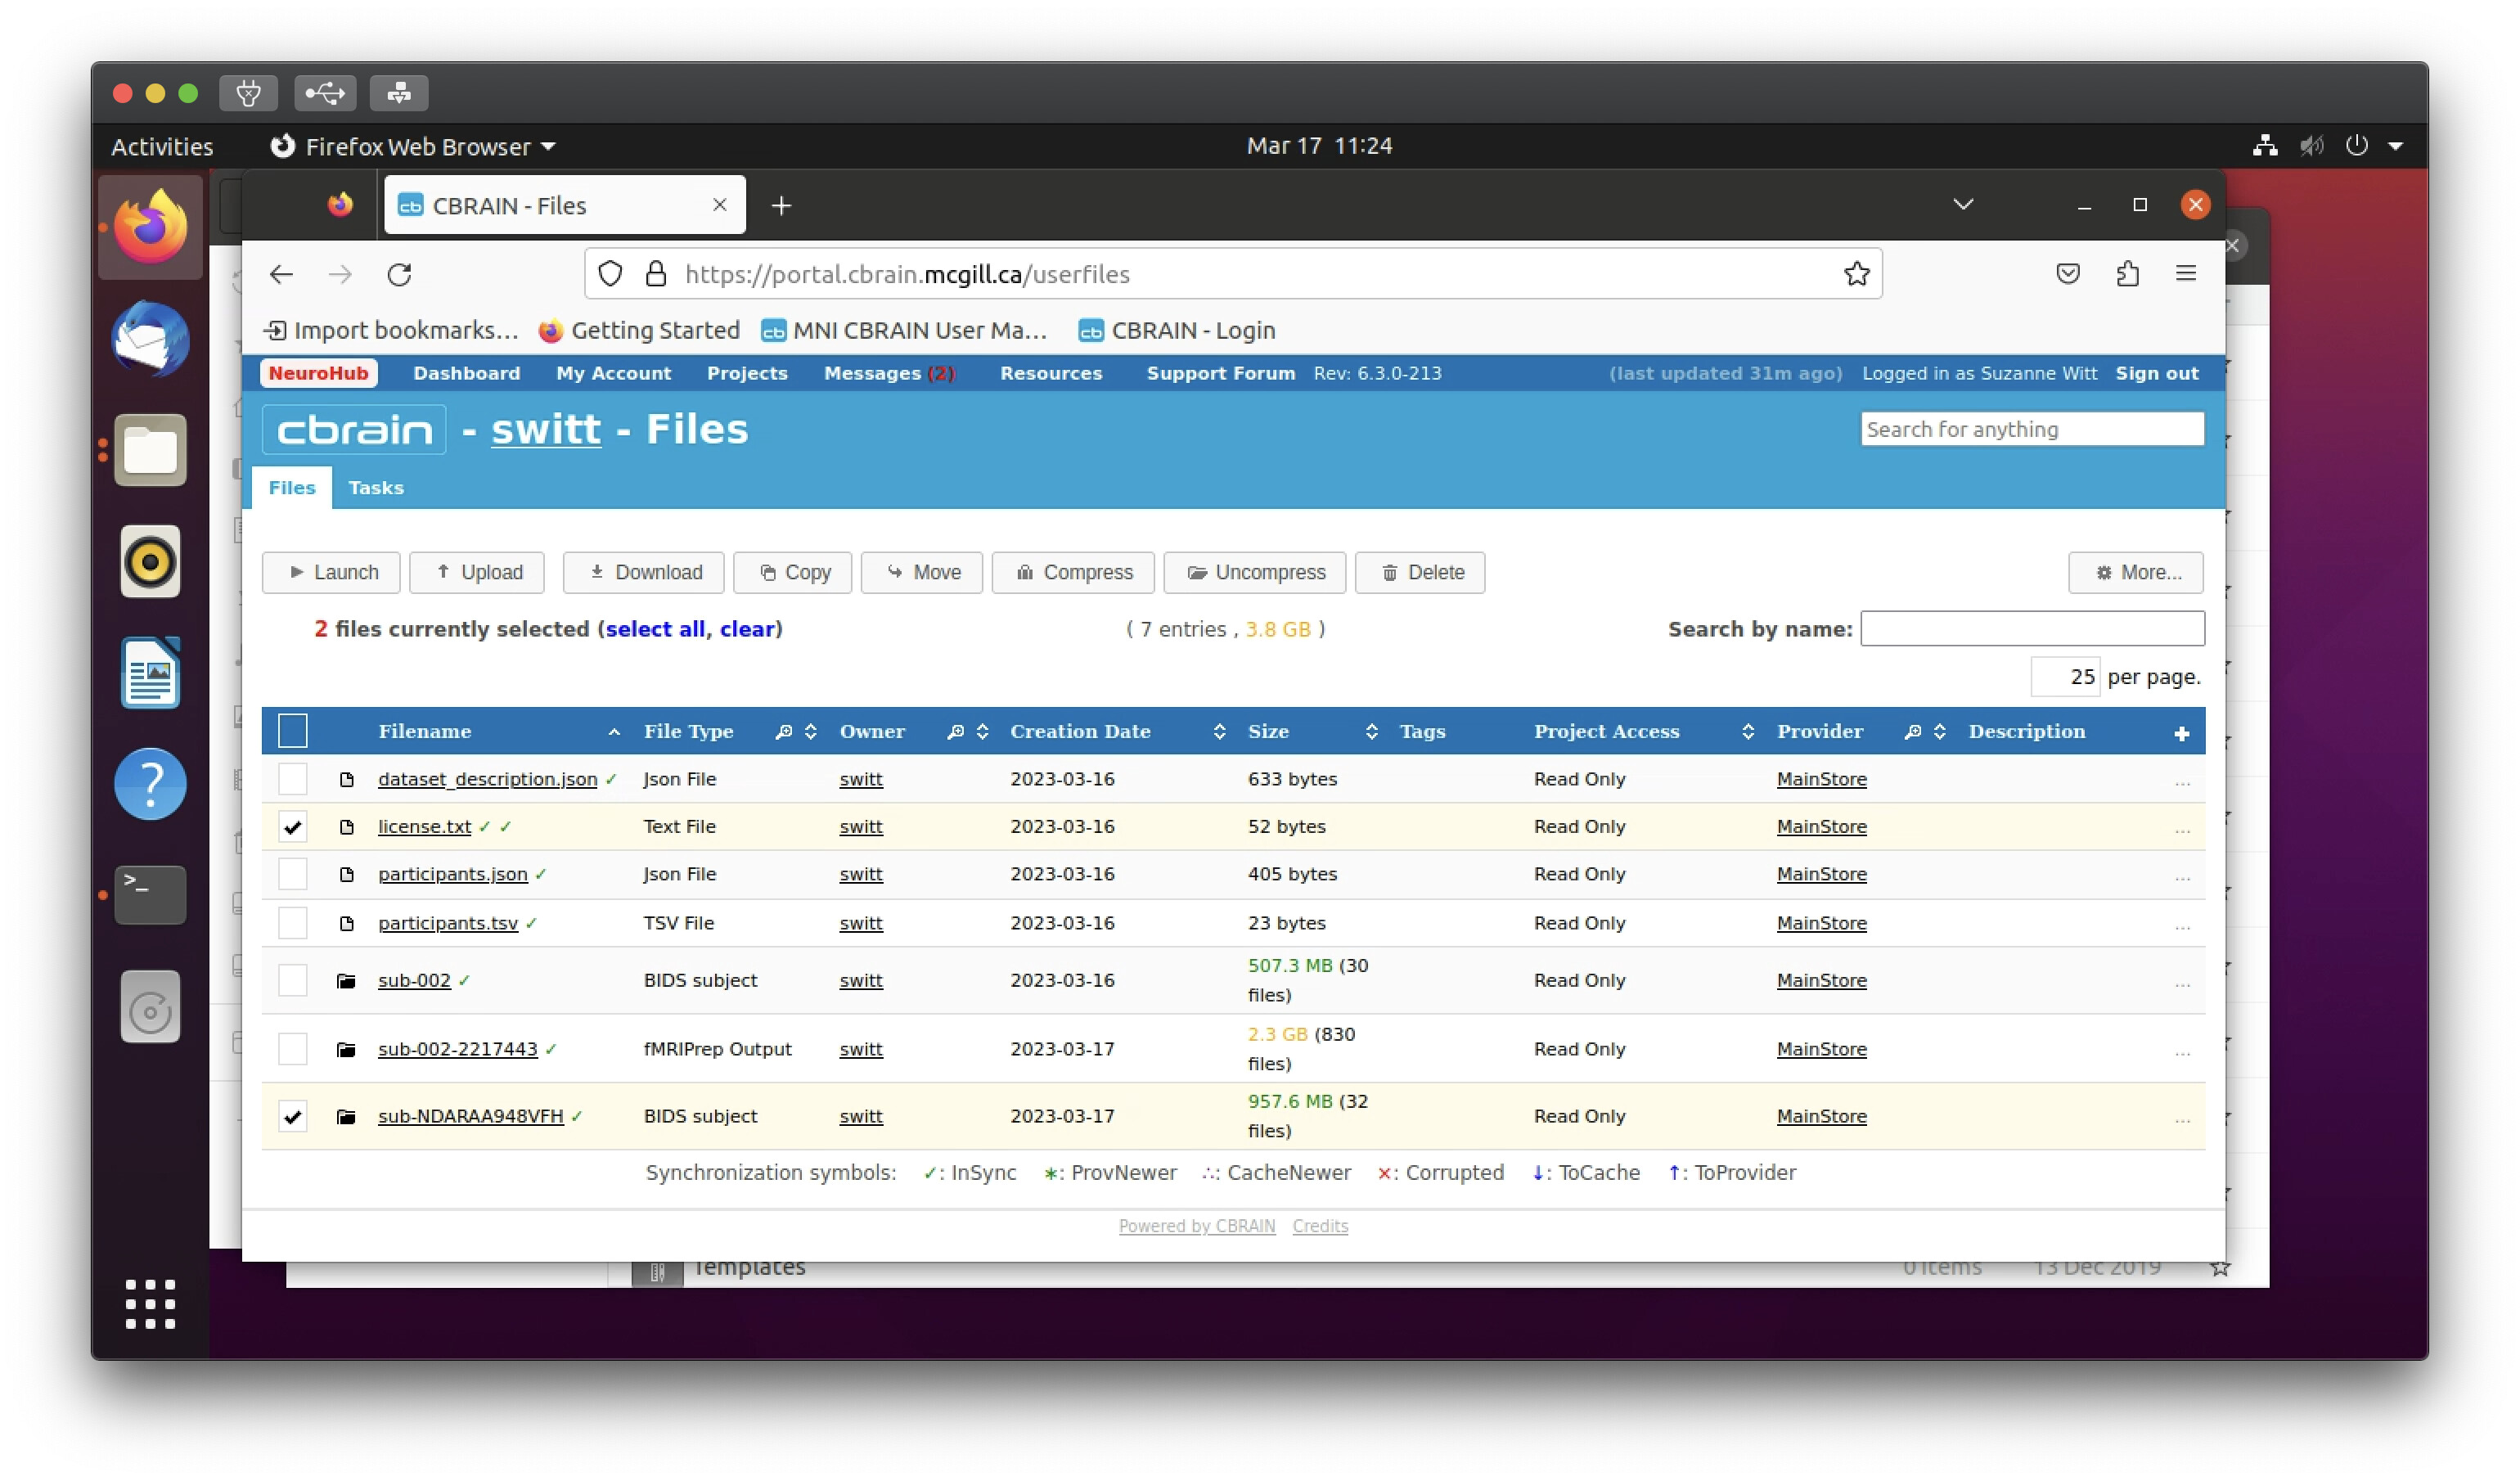
Let’s say you want to run the BIDS-ed subject directory you uploaded through fMRIPrep. You will want to select the subject directory and a Freesurfer license file. (In this case, CBRAIN gave me a helpful error message that I needed a Freesurfer license file when I tried running fMRIPrep with just the subject directory.)
After you have selected the mandatory input files for the tool you want to run, click on the “Launch” button.
A complete list of the tools available to your user will appear. (Note that certain tools require permission to run on CBRAIN, so not all tools are available to all users.) You can use the search bar in the upper left-hand part of the window to quickly find the tool you want to use. From the “Server & Version” pull-down menu, select the desired version and what server you want to run the analysis on. CBRAIN will provide an estimate of the queue time for a given server.
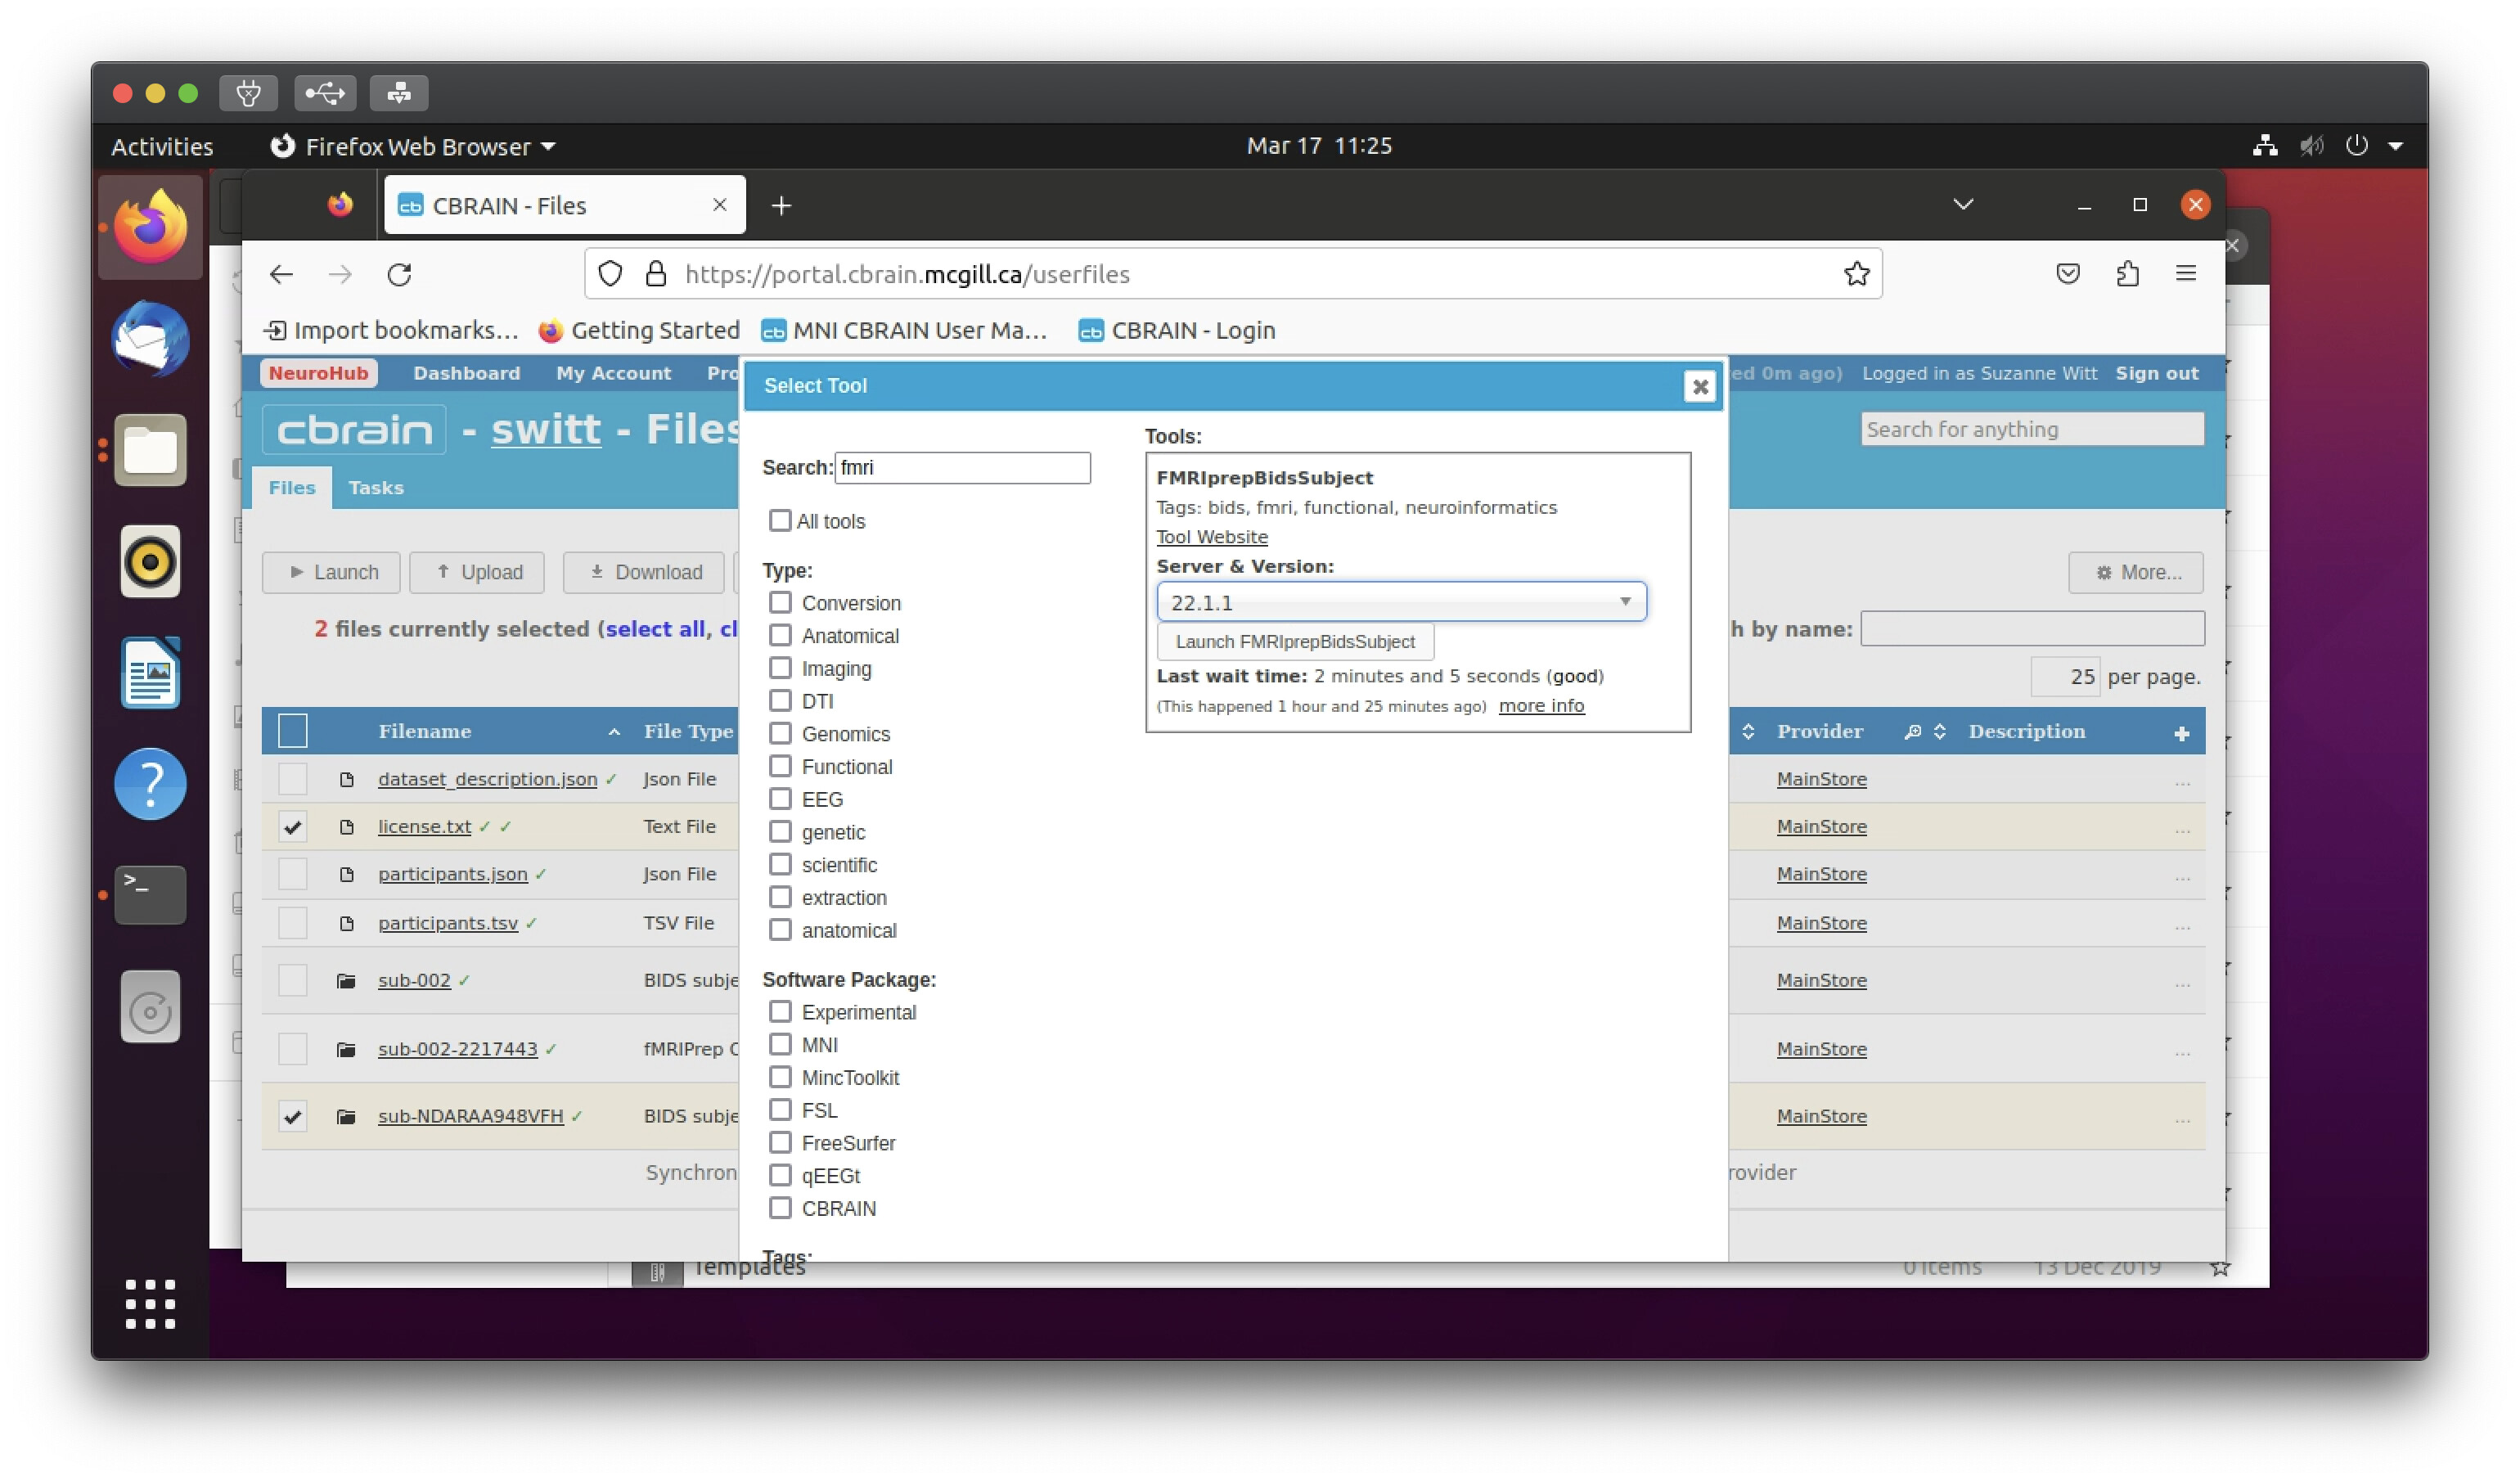
Once you have selected the desired tool, version, and server, click on the “Launch FMRIprepBidsSubject” (or whatever your tool is called) button below the “Server &Version” pulldown menu.
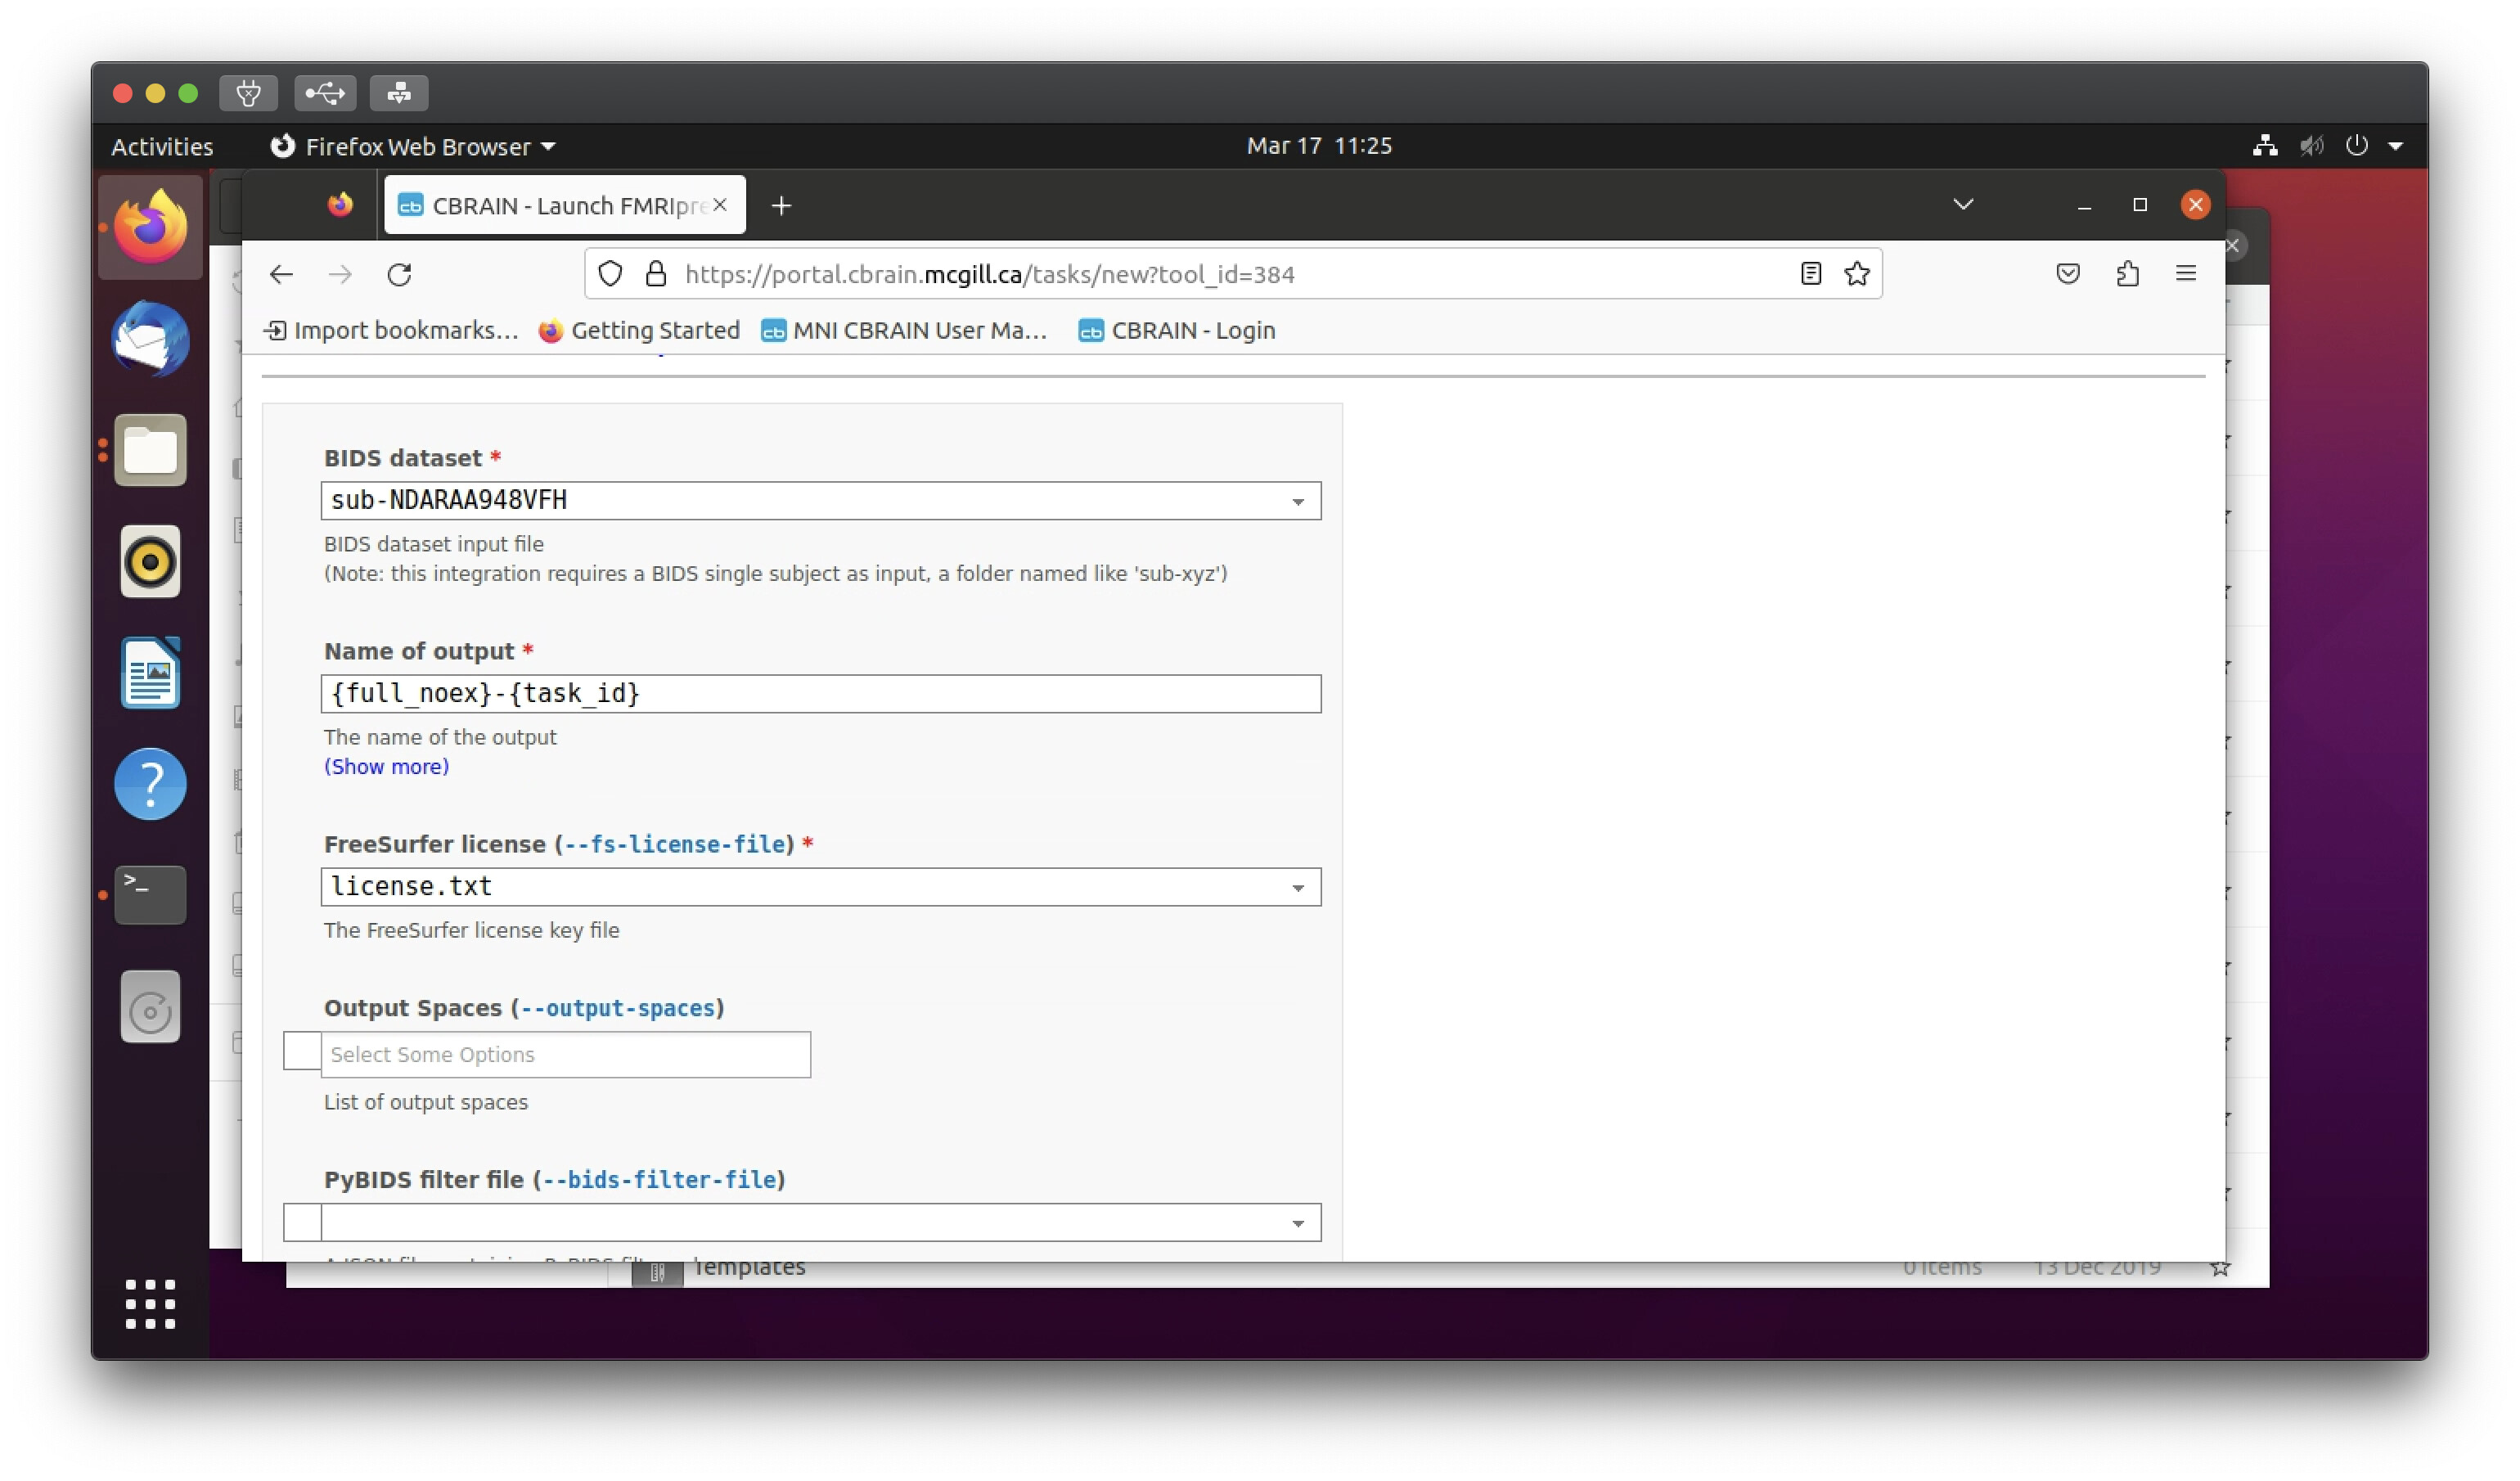
In the Tasks tab, all of the options and parameters you can control will become available to you. (Those marked with a red asterisk are mandatory.) You will first need to specify an output location for your results. Generally, your MainStore is fine.

You next need to tell CBRAIN which input file is which. For fMRIPrep, the two mandatory inputs are a BIDS-ed subject directory and a Freesurfer license. You can also specify the output file/folder name or naming pattern. In this case, I kept the default CBRAIN suggestion for the name of the output.
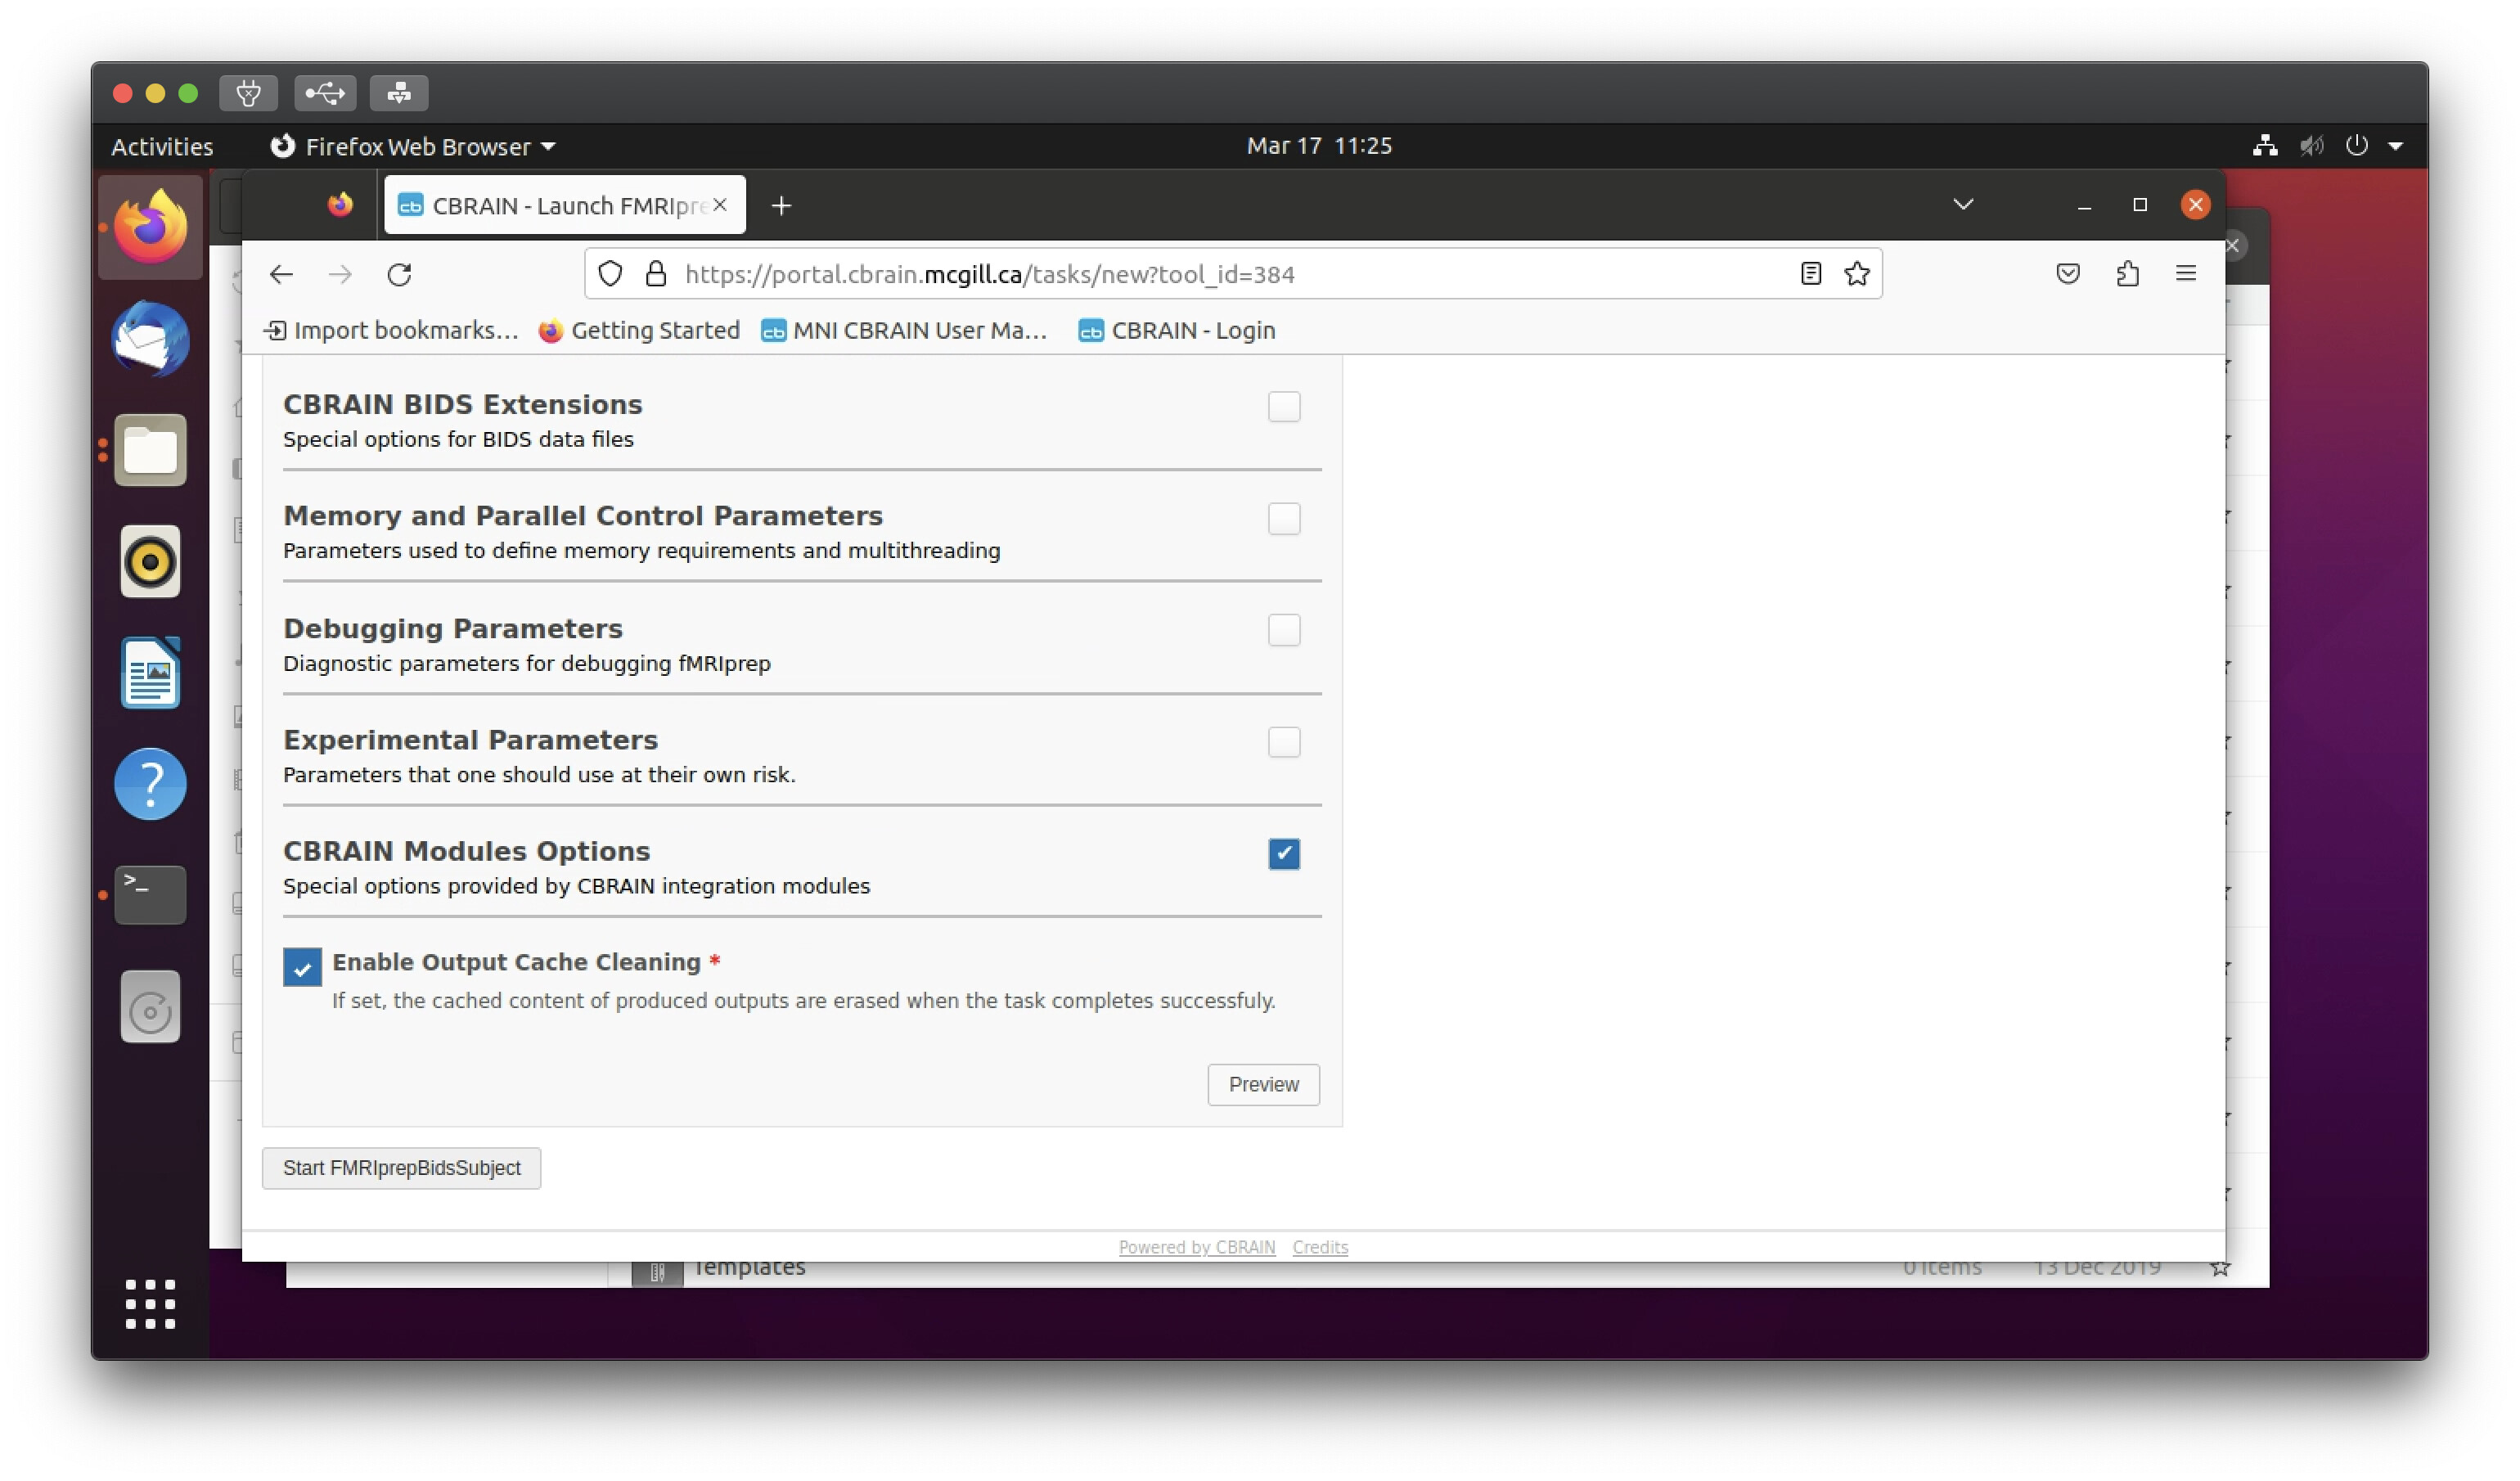
Unless you are debugging something, it is probably safe to check the “Enable Output Cache Cleaning” box at the bottom of the list of parameters. Once you have specified all of the parameters you want, click on the “Start FMRIprepBidsSubject” (or whatever the tool you are using is called) button to start the process running.
Once the process is running, you can check on its progress from the “Tasks” tab on your user project space. If you click on the name of the task from the list, you can navigate to a page with log information, queue time, wall time, etc. CBRAIN will send you a message (accessible under the “Messages” menu) once your task successfully finishes. CBRAIN will also send a message if your task fails, along with some guidance on how to trouble-shoot what may have gone wrong.
Assuming all goes well, you have now successfully used CBRAIN to analyze your first dataset